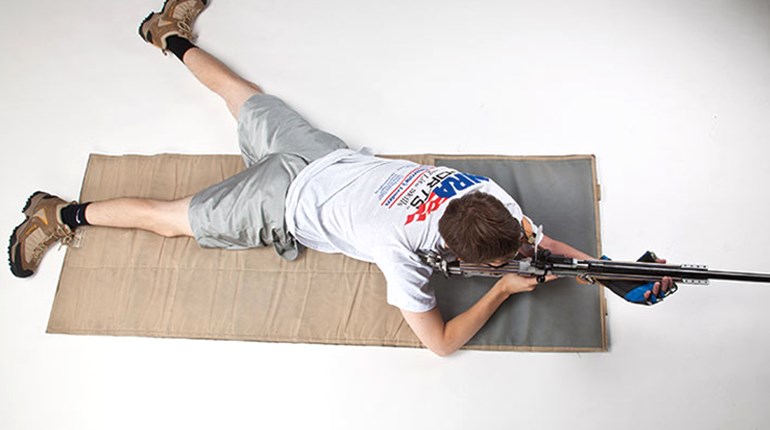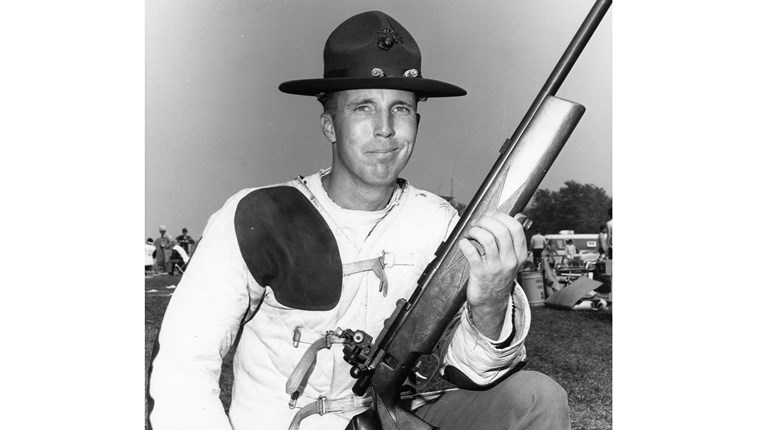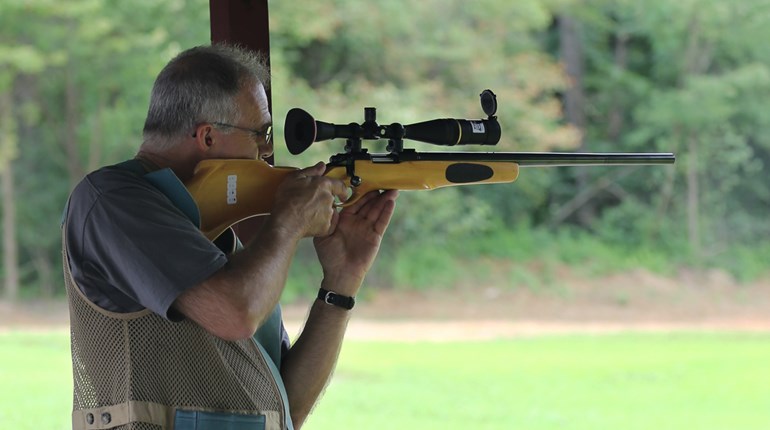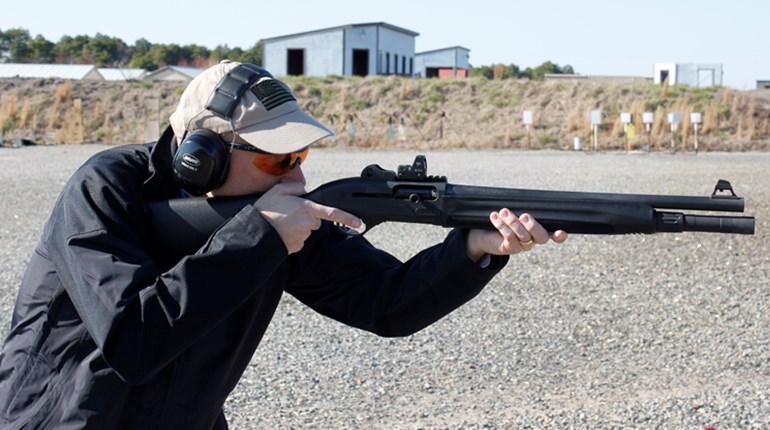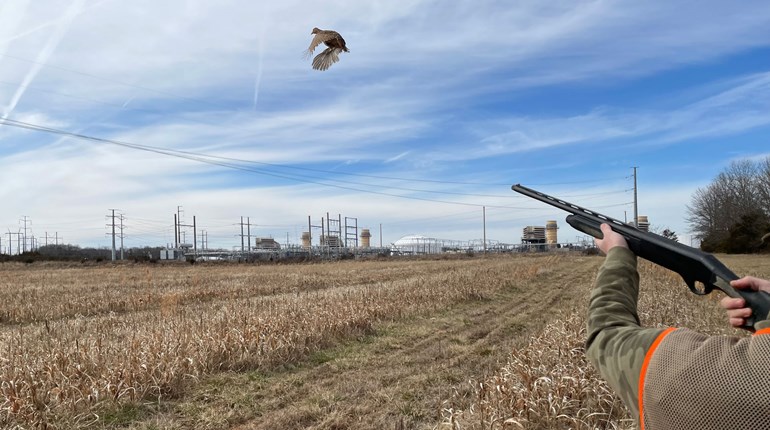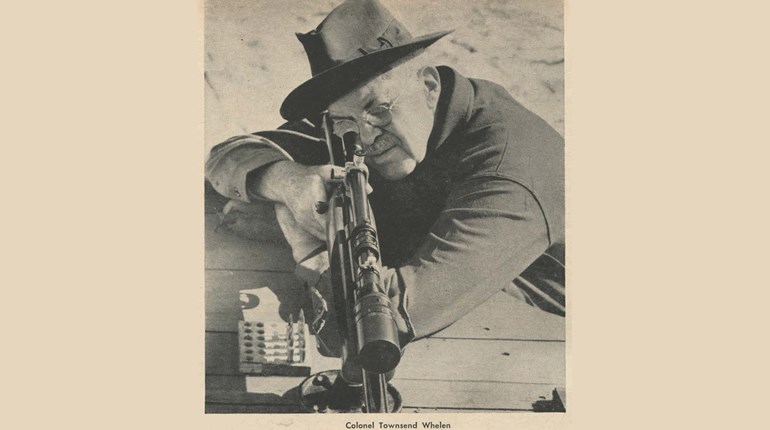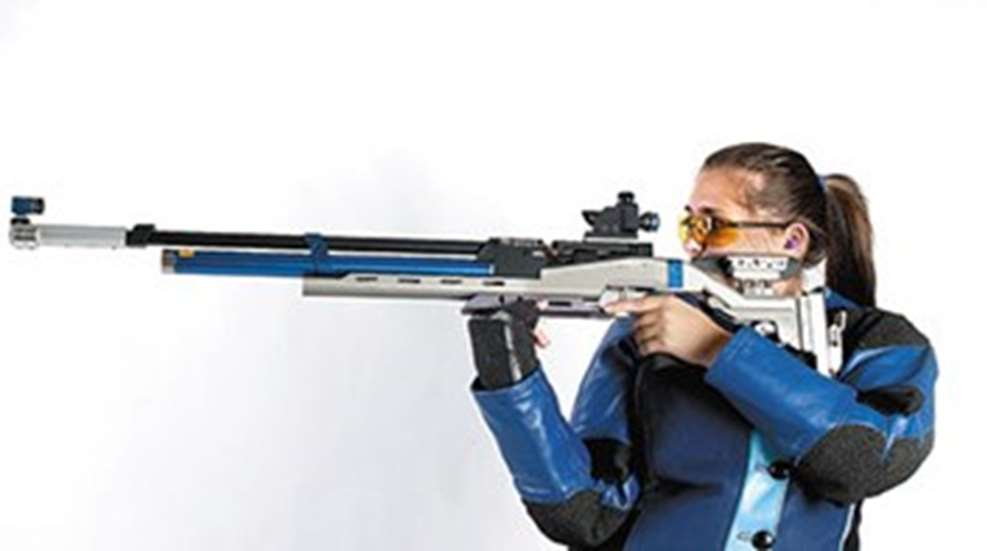
 Natural Point of Aim (NPA) is the best known, and most important, of the NRA's elements of a shooting position. NPA plays a role in every shooting sport to one degree or another. So what is it? NPA is a condition in which the gun/body combination naturally points the muzzle of the gun. What makes up NPA? A prone rifle competitor would say, "Skeletal support, muscle relaxation and a tight sling." Meanwhile, a pistol shooter would say, "Skeletal support and muscle tension," since pistol shooters don't use slings. A shotgunner might quibble, "Skeletal support, muscle tension and swing to the target." Three different shooting sports, three different answers...and all of them are right.
How do you determine where your NPA is? Try this exercise: Assume your shooting position, then close your eyes. Take three deep breaths to erase your muscle memory. Then stop breathing, open your eyes and check the relationship between where you have aimed naturally and the center of the target.
There's another exercise to try. First, verify that your gun is unloaded. Then, keep your eyes closed as you mount your gun or raise it downrange. Keeping your eyes closed prevents you from looking through the sights and muscling the gun to the target...so this method tells you where your body naturally tries to set the gun on target.
This brings us to a question: What if you're not centered on the middle of the target when you check your NPA? The answer is that you simply move your whole position (gun and body) into alignment with the center of the target. Before we cover how that works with each position, let's set a couple of basic ideas on NPA.
First, all positions, regardless of the firearm, have a pivot point around which the position is adjusted. The pivot point is the anchor point from which you adjust your NPA. Second, your position will settle during the course-of-fire, so your NPA must be constantly checked and adjusted.
One of the best ways to learn NPA adjustment is to use one-shot drills. Fire one shot, get completely out of position, then assume the position again and fire one more shot. If you truly know your position, your groups will be small and round. Have fun testing these techniques out!
Now we can get to the meat of how to adjust NPA.
The standing position is the easiest position in which to change NPA if you're consistent in establishing your position. Consistency is very important: By learning a system for mounting the rifle to your body and checking for muscular consistency, you will be able to master the use of NPA more quickly. To keep horizontal adjustment simple, all you have to do is rotate the whole position around an imaginary point between your feet. By rotating the entire position as a unit, you will preserve your consistency.
NPA for elevation is a different story. To lower or raise NPA, start by moving your non-shooting hand back or forward on the forearm to adjust your NPA on the target. Moving your feet closer together or further apart can also be used to adjust elevation in NPA.
Now that we've covered some of the basic ways to adjust NPA in the standing position, let's cover one other tactic that can be troublesome: changing the position of the buttstock. It's important to remember that, if the position of the butt of the rifle in the shoulder is used to change NPA in any position, the position of your head on the stock will change as well. This in turn changes eye relief, which shifts the shot group on the target, and requires you to adjust the sights to return the center of the shot group to the center of the target.
The kneeling position is one of the most versatile positions. It's easy to assume, provides a good view of the target area and is very stable. The pivot point for the kneeling position for a competitive shooter is the kneeling roll. Shooters who do not use a kneeling roll pivot on the foot. For horizontal adjustment, pivoting around the rear foot maintains consistency in the position. For elevation adjustments, start with the sling: Tighten to raise, and loosen to lower. Don't over-tighten or over-loosen the sling, because that forces you to use your muscles to keep the rifle positioned in your shoulder. If the sling adjustment by itself is not enough, try adjusting the handstop or moving the non-shooting hand on the forearm, then readjusting the sling to support the firearm.
If the sling/handstop adjustments aren't doing the trick, more drastic measures are needed. Start by moving the non-shooting arm up or down on the knee to adjust the NPA. The last resort is to change the size of the kneeling roll by adding or taking material out of the roll. The drawback to this, of course, is that it changes the shooting position that you've been working so hard to develop.
The sitting position is the last traditional rifle position we'll cover. The sitting position is a very stable shooting position; if your position is consistent and your NPA is right on, you'll shoot the center out of the target. In the sitting position, the legs (or the ankles or heels that actually touch the ground) are used as the pivot point for adjusting NPA. For adjusting NPA horizontally, you need to raise yourself completely off the ground, instead of just sliding to the right or left. (Sliding just torques your muscles, which will only be a temporary adjustment.) Keep the rifle pointed in a safe direction with your non-shooting hand while you push your body clear of the ground with your shooting hand. You may want to close the shooting hand into a fist, so you don't pick up any dirt or sand that will affect your grip on the stock later.
Elevation adjustments to NPA in the sitting position are basically the same as with the kneeling position-start with the sling, the handstop on the forearm and remember to retighten the sling. Like the kneeling position, NPA can be changed by changing the relationship between the non-shooting arm and the leg, or by shifting the legs. The non-shooting arm moves up or down on the leg to bring NPA to the middle of the target. For the leg-to-leg relationship, simply slide the support leg (the lower or bottom leg) back and forth until NPA is centered on the target.
Here's a trick for bullseye shooters: Stop breathing. Then take two shallow breaths (paint in the bull with perfect sight alignment as you breathe), stop your breath at the respiratory pause (do not hold air in your lungs), restart hole control when the sight picture is acceptable, then fire the shot. Follow through until the gun settles back to the target.
That covers the basic adjustments for NPA-have fun at the range!


