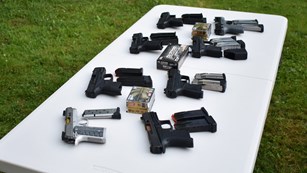
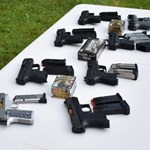
If you’re running a Glock for competition, you may want fiber optics. If you’re running a Glock for defensive purposes, then you may prefer night sights. If you only plink with your Glock every once in a while, then I guess you can keep the factory sights, but you run the risk of alerting everyone around that well, you’re just a plinker. All joking aside, part of the attraction of owning Glocks is they are fully customizable with a variety of available aftermarket parts. Each Glock can have its own special purpose and is easily configured to meet your specific needs.
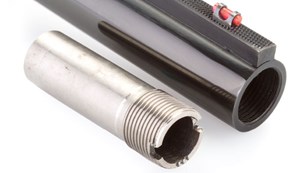
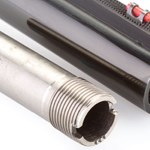
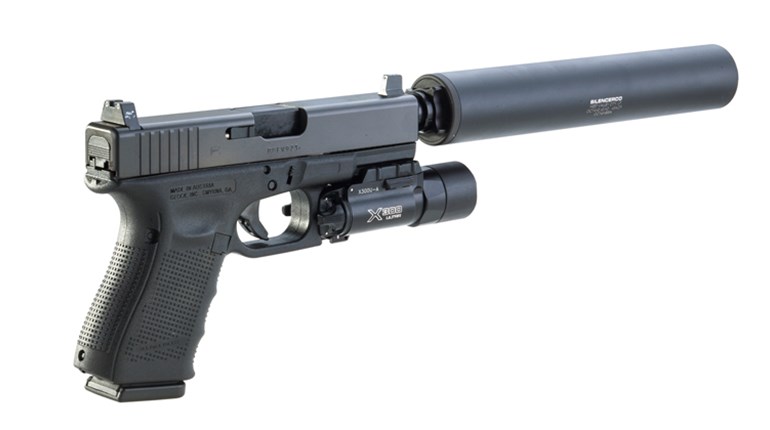
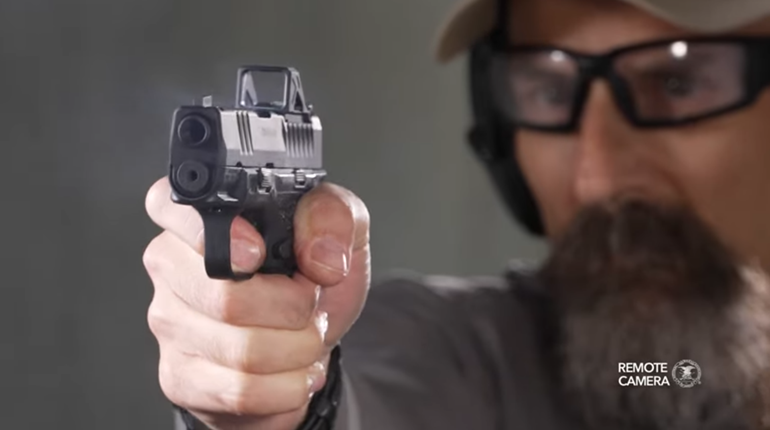
Recently, a good friend of mine received his long-awaited Silencerco Octane 45 HD suppressor for his Gen 4 Glock 19 and now needed taller sights installed to see over his handsome (but now vision obstructing) can. He selected a pair of Trijicon: Bright & Tough, Night Sight Suppressor Set (GL201, green-green) and stopped by my office for a quick install. Popping new sights on a Glock could not be more simple—that is, if you have the correct tools.
In order to swap sights you will need to be comfortable performing a basic field strip of your Glock. If you are familiar, skip to the next section. If not, follow these steps:
- Remove the magazine.
- Pull the slide to the rear and visually and digitally check the chamber to be sure the gun is unloaded. Point the muzzle in a safe direction.
- Pull the trigger.
- Put the web of your dominant hand around the beavertail, and wrap your fingers over the top of the slide. Pinch the slide back slightly.
- With your non-dominant thumb and index finger, pull both sides of the takedown lever down.
- The slide will slide off the front of the frame.
- Set aside the recoil spring and barrel.
The front sight is affixed via hex screw accessible by the underside of the slide. To remove the front sight you will need this tool from Brownells. I super-glued the tool into its own dedicated handle for ease of use and to keep from misplacing it. Using the hex tool, simply back out the screw and remove the front sight from the top of the slide.
The rear sight is a simple dovetail. Don’t go banging away on it with your non-marring brass punch! I know it may seem like a good idea…but it isn’t. To remove the rear sight you will need this tool, also available from Brownells. First, center the sight pusher block with the t-handle and loosen the sleeve with the knob at the bottom. The Glock slide rails will fit onto the sleeve. Then tighten the knob at the bottom. This helps so the slide doesn’t torque inside the tool as is the case with most universal sight tools. Twist the t-handle to drift the rear sight to the left until it is out of the dovetail. Loosen the knob at the bottom and slide the rails off the sleeve.
Stage the new front sight screw in the hex tool. Then dab a little blue (medium strength) Loctite on the threads. Loctite is available at Brownells here. Insert the front sight into the slide with the dot facing the rear sight; take care to orient the sight correctly. Using the hex tool, simply screw into the front sight until it is finger tight. (It is possible to over-tighten and snap the screw, so finger tight is sufficient!) If the front sight is not straight, cover the sight with a rag and use a wrench to gently twist until it is perfectly straight.
Dab a little blue (medium strength) Loctite inside the dovetail and a little on the corners of the rear sight. Stage the new rear sight into the dovetail on the left side of the slide. Slide the rails back onto the sleeve and tighten the knob at the bottom. Begin to twist the t-handle so the rear sight is now moving toward the right of the slide. Center as best you can in the dovetail. Use a Q-tip to remove excess Loctite from the corner.
Finally, reassemble the gun. For those who are unfamiliar, follow these simple steps.
- Drop in the barrel.
- Drop in the recoil spring.
- Slide the rails onto the frame and pull back until you hear the click of the takedown lever.
Allow the Loctite to cure for 24 hours before firing the gun. After 24 hours, test fire and confirm zero. Take the rear sight tool with you to the range in case you need to make a minor change. It just so happened I did such good work for my friend his zero was perfect, so additional adjustments were not needed. (I am getting better at this whole Armorer thing.)
Would you like to see more tips about sight installation? Some are trickier than others. Let me know!