Over the past several years we have published articles on safe gun handling rules, shooting fundamentals, elements of a good shooting position and how to grip a pistol. In this article you will be introduced to the bench rest, Isosceles and Weaver positions. Next month, look for Modified Isosceles, Modified Weaver and conventional one-hand positions. As always, we will use the NRA’s eight steps method of teaching a shooting position. The steps are: study the position, practice the position without the pistol, practice the position with the pistol, align the position with the target, dry-fire, live fire, zero the pistol and continue to shoot, and confirm the zero.
Bench Rest
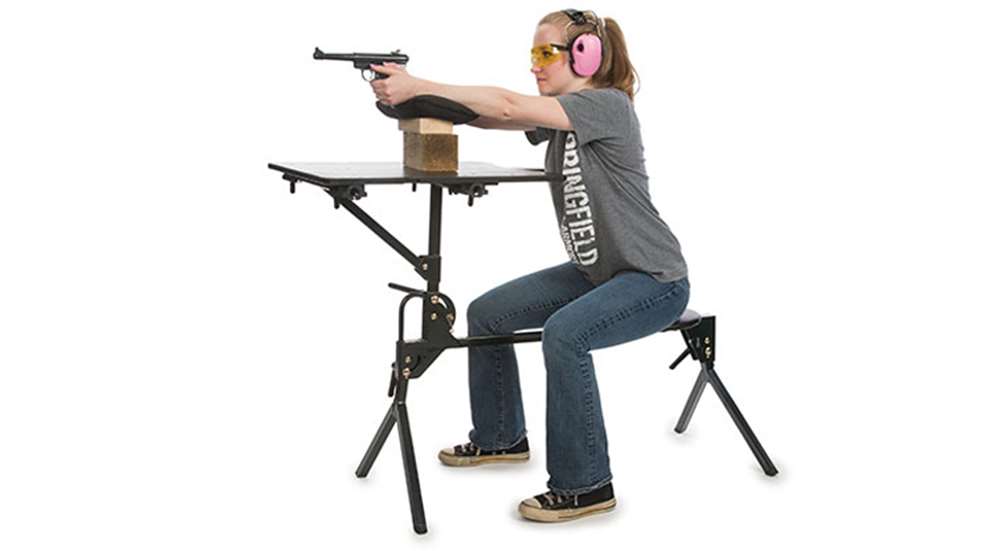
We will start with the bench rest position, which is the best position to practice your shooting fundamentals from.
1. Study the bench rest position: Start with the feet and systematically move through the position. The muscle tension in the shooting arms and grip must be consistent to produce small groups.
• Feet flat on the ground with the legs relaxed:If your feet are flat on the ground, and in the same position, it will help maintain your natural point of aim (NPA) and offer consistent response to recoil.
• Torso should be directly behind the support:This makes it easier to manage the recoil and return to your NPA, and produce small round groups. This will also keep the head level, improving balance and reducing movement in your sight picture.
• Head is level
• Raise the support so you are looking straight forward through the center of your glasses.
• Shoulders are in a neutral position and arms raised, without pushing the shoulders forward or lowering the head.
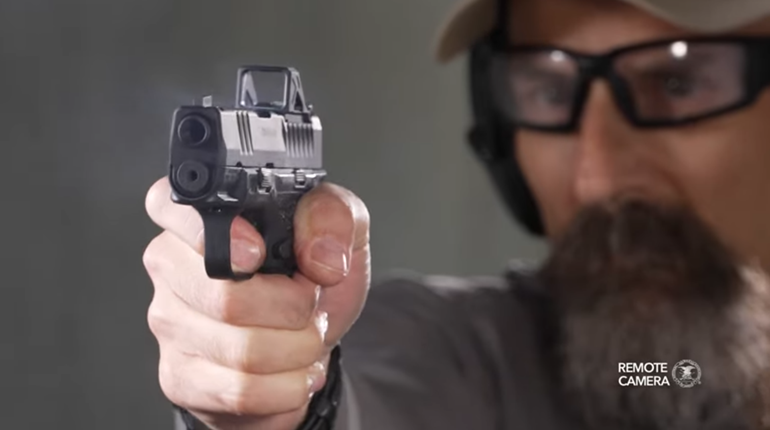
• Both arms are extended forward toward the target, forming an A frame.Elbows are extended out and turned up and out, but not locked. This allows the arms to act like rubber bands, so the recoil will be flatter, allowing you to shoot faster. If the elbows are down, the gun will recoil up and it will take longer to get your sight alignment and sight pictures again.
• Hands resting on the support:The support is tall enough that the pistol sights are at eye level, so you will look straight out of the center of your glasses. This maximizes eye protection and reduces the possibility of sight distortion by looking out of the top of your glasses.
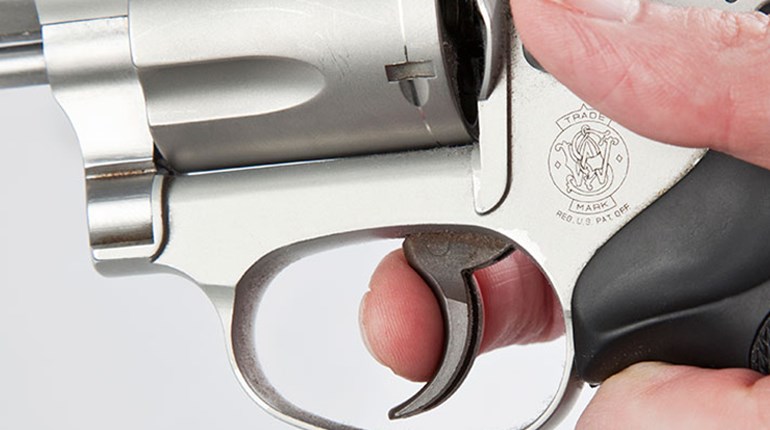
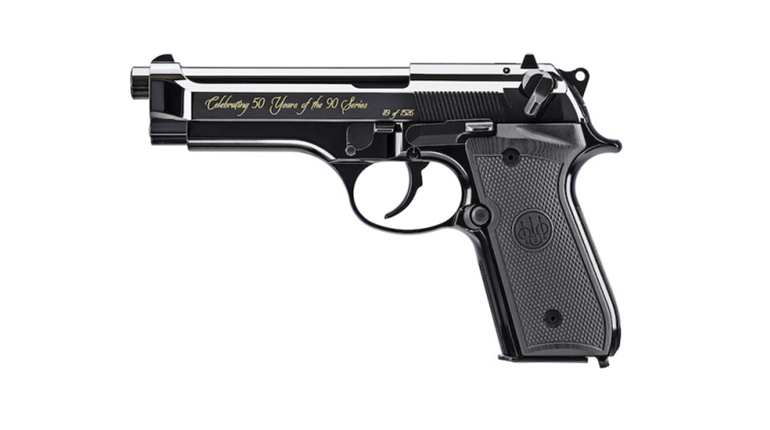
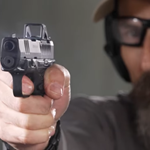
• Gripping the pistol: Refer to the July 2012 issue of InSights (LINK) for more information on properly gripping the pistol.
2. Practice the position without the pistol: By assuming the position without the pistol, you don’t have to worry about the muzzle direction, which allows you to focus on your body in position. Practice the position several times.
3. Practice the position with the pistol:
• The pistol should have been on the bench pointed in a safe direction, so you can just pick it up to get into your position.
• Practice keeping the pistol pointed in a safe direction when assuming and getting out of the position. Keeping the muzzle always pointed in a safe direction is the first rule of safe gun handling and range etiquette!
• Total focus should be on developing the correct pistol body position. Review the note from “study the position” and make it a part of your shot process. If the position is not correct, you must correct it before moving on to the next step!
4. Align the position with the target: This is where you take your NPA, which is where the pistol/body combination naturally is pointed, and move to the center of your target.
To check your NPA, close your eyes and breathe several times. Execute breath control (stop breath) and hold control (hold still, consistent muscle pressure), open your eyes looking through the sight, and check sight picture. If your sight picture is out to the left or right you adjust your NPA around the front support. For elevation you raise or lower the height of the front support.
5. Dry-fire: This is where you check your trigger control. When you pull the trigger, the only thing that should happen is the pistol going “click.” If there is movement, you may be pulling the trigger too fast or too hard. You need to slow your trigger pull. A second possibility is your finger is not moving the trigger straight to the rear. To correct this, move your finger contact point on the trigger until you find that “sweet” spot.
6. Live fire: Fire five shots at the target.
7. Zero the pistol: Adjust the sight to move the group to the center of the target. The rule for adjusting your rear sight is to move the sight in the direction you need to move the group to the center of the target.
8. Continue to shoot and confirm the zero: To keep from chasing a zero, you need to be consistent in how you mount the pistol into your body and the pressure in your muscles to maintain zero.
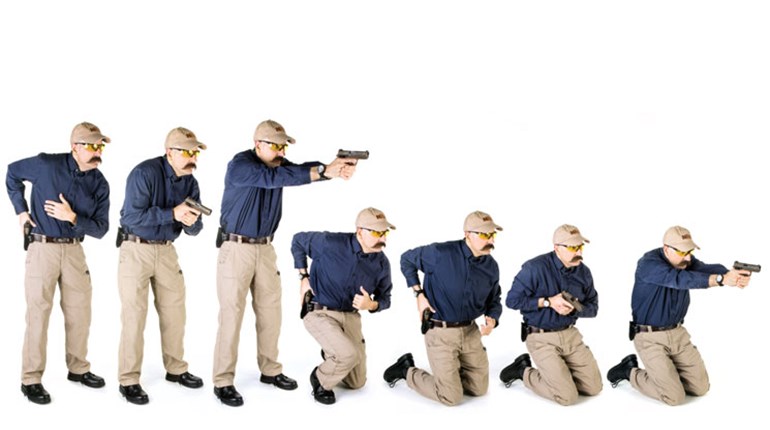
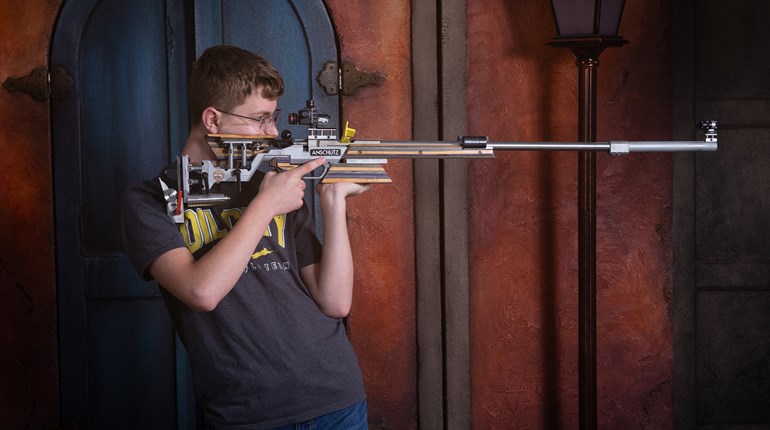
Isosceles
Next we will move to the Isosceles Position, which is exactly the same as the Bench Rest position from the waist up, except you are standing up. The Isosceles Position is so named because when you look down at your arms, they make a shape that resembles an isosceles triangle.
1. Study the Isosceles Position:
• Feet are positioned about shoulder-width apart, square with the target.
• Your weight is forward on the balls of your feet to help manage recoil.
• The shooting-side foot is on line with the support side, or about half a step back to increase balance.
• Knees slightly bent to provide positive blood flow to the leg muscles.
• Lean slightly forward again to help with recoil management.
• Head is level.
• You will look straight forward through the center of your glasses.
• Shoulders are in a neutral position and arms raised, without pushing the shoulders forward and lowering the head.
• Bring the gun to eye level, so you will look straight out of the center of your glasses.
• Both arms are extended forward toward the target, forming an A frame.
• Elbows are extended out and turned up, but not locked.
• Gripping the pistol the same as in the Bench Rest Position.
The rest of the steps are as in the Bench Rest Position, except for aligning the position with the garget. Once you’ve found your NPA, you adjust the NPA to the left or right by moving your feet. For elevation, you raise or lower your arms.
Weaver
The Weaver position is named after Sheriff Jack Weaver, who is credited with originating the position in the 1950s. The Weaver position gives considerable support to the pistol, by pulling the pistol closer to the body, which affords better retention and maneuverability in close quarters. The bent elbows and feet position also aid in controlling recoil. When shooting a heavy recoiling pistol, the Weaver position may help you recover back onto the target more quickly.
1. Study the Weaver Position:
• Feet are positioned about shoulder-width apart, strong-side foot rearward about a step back.
• Your weight isforward on the balls of your feet to help manage recoil.
• Knees slightly flexed.
• Lean slightly forward, again to help with recoil management.
• Head should be level, or tipped slightly to the side to properly view the sights.
• Weak side shoulder is angled toward the target.
• Bring the gun to eye level.
• Both elbows are bent, bringing the pistol closer to the body.
• Strong-side hand and arm pushed forward into the weak hand.
• Weak-side elbow is pointed downward. Simultaneously, the weak hand pulls rearward.
• The tension between the two hands is the most functionally significant feature of this position.
• Gripping the pistol in the normal two-handed grip.
Steps 2 through 8 remain the same for the Weaver, Modified Isosceles and Modified Weaver positions.
This article covers the basic steps to learn the pistol shooting positions. For more details and help in mastering the two-handed positions contact an NRA Personal Protection Inside the Home Certified Instructor or NRA/CMP/USA Certified Pistol Coach for the one hand position. Having a good coach or instructor can save years of self discovery on mastering pistol shooting and thousands of dollars in guns and ammunition.