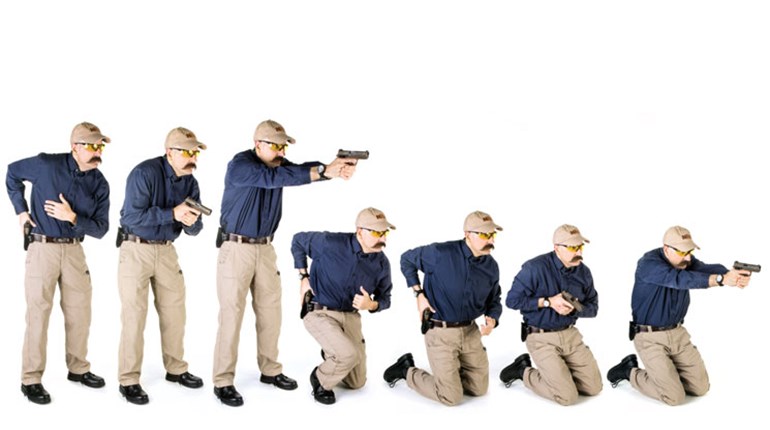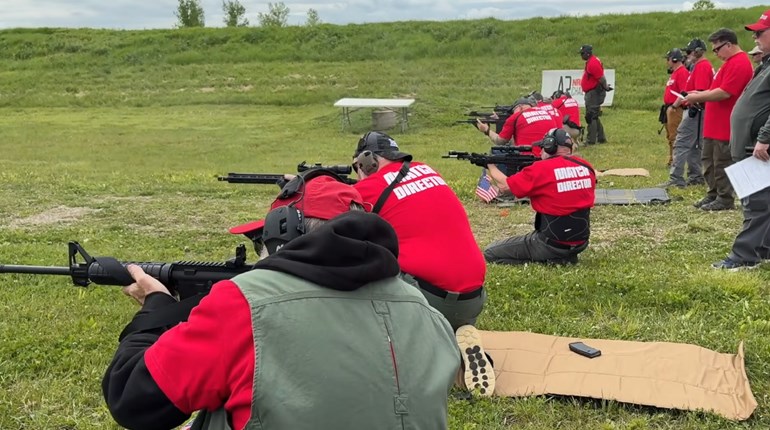
The standing position may be the easiest position to assume, but with only your two feet on the ground, it's the least stable. In this article we will cover three standing positions and how to increase your stability. The three positions are: free arm, arm rested and a modified tactical standing position that we will call "action standing." Each position has its strong points, and by knowing these you can choose the standing position that best fits your shooting purpose.
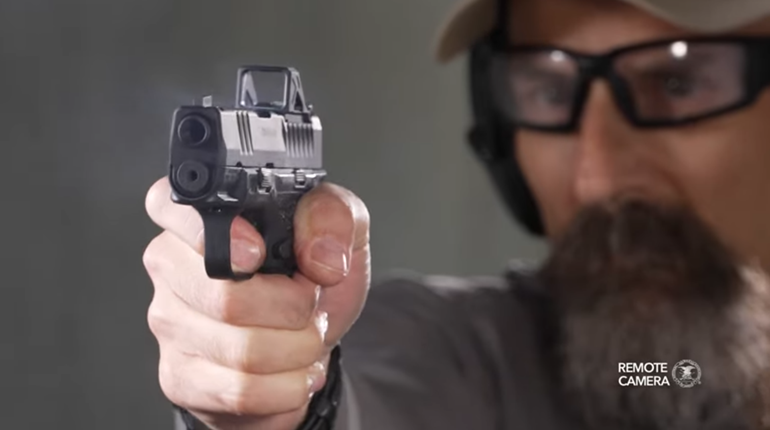
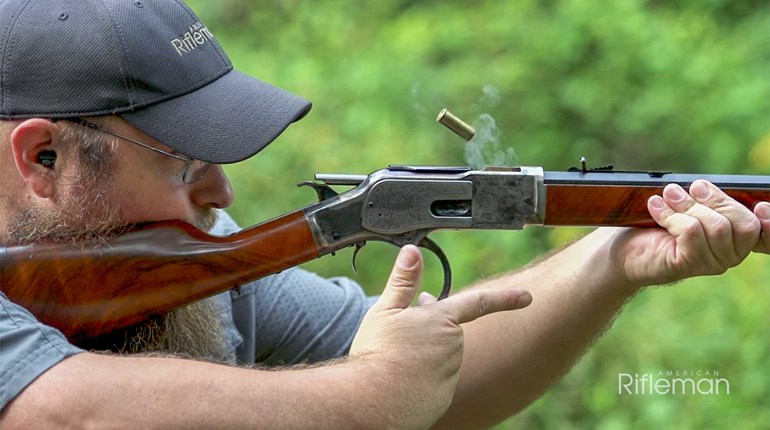
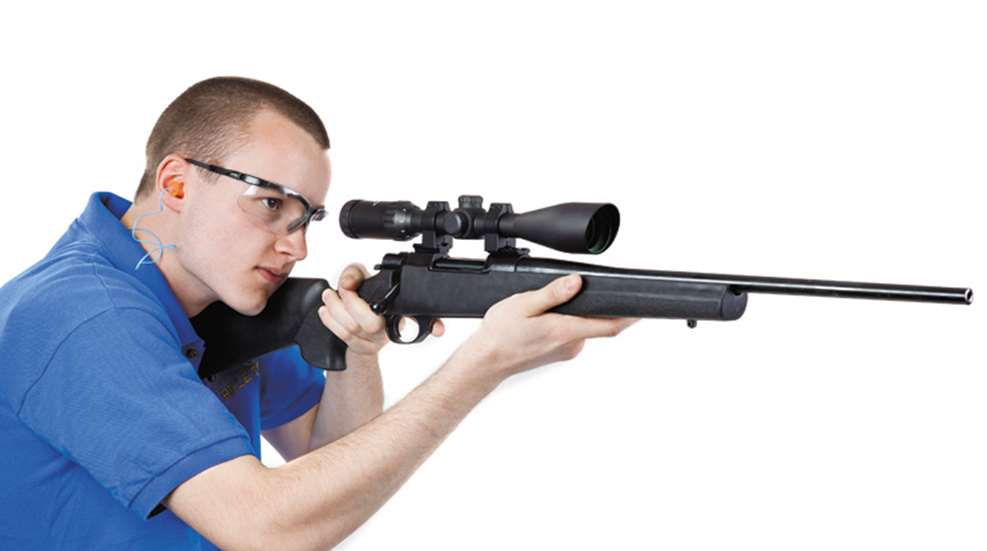
The Free Arm Standing Position (pictured above)
The free arm standing position gets its name because, in it, both arms are free from support. The strength of the free arm standing position is that it takes only a second to assume when engaging large, close, moving targets. "Wait a minute!" you might be wondering, "Wasn't the free arm position the same position once used in the Olympics in the Running Target Event?" Yes, it was. With lots of practice in mounting the rifle exactly the same way each and every time, you can reach a high level of performance with the free arm standing position too! A good example of when to use this position outside the Olympics would be if, say, you were walking to your tree stand when a huge buck jumped to its feet and made a run for it. You'd have to shoot right away; there would be no time to assume your rock-steady prone position before the buck was out of sight.
Studying the free arm standing position:
The shot or shots fired from this position are taken in a matter of seconds, so the muscles in your body are fully engaged for only the few seconds it takes to fire the shots.
• The free arm position is almost parallel to the target.
• Feet are placed about shoulder-width apart, with the left foot about half a step forward of the right foot. The legs are locked into position, with the weight of your body slightly forward on the balls of your feet.
• The back is bent slightly forward; stomach muscles are ridged.
• The head is level for good balance. The rifle is brought to the face, and then placed into the shoulder.
• The butt of the rifle is in the shoulder, close to the neck.
• The face is firmly against the stock with the eyes looking straight down the sights.
• The elbows are positioned up and outward to the side to help minimize muzzle climb in case a second shot is needed. (The right elbow is lower when shooting a rifle with a pistol grip, like an AR-15.)
• The left hand grips the rifle forearm, pulling the rifle straight back into the right shoulder.
• The right hand firmly grips the rifle to support the trigger finger. The grip position allows the trigger finger to do its job of firing the rifle without disturbing perfect sight alignment.

The Action Standing Position
At this time there is no single name for this modified standing position, so we will call it the action standing position for this article. Modern sporting rifles like the AR-15 and its spinoffs, with their low recoil, can be great youth rifles. The fast-growing sport of defensive shooting is a natural fit for young shooters. A fast action, exciting and fun shooting sport requiring multiple shots at multiple targets in a matter of seconds is more fun than any video game! Like most improvements in the shooting sports, competitors strive for more shots placed in the middle of the target in less time. This has aided in the development of the position we are calling here the action standing position. The strength of this position is the same as the free arm position, in that it takes only a second to assume the position when engaging targets. There are only three changes to turn the free arm position into theaction standing position.
Step 1. Studying the action standing position:
• Change #1: The action standing position is parallel to the target.
• Change #2: Feet are placed about shoulder-width apart and more in line with each other. The knees are slightly bent with the body weight slightly forward on the balls of the feet. The back is bent slightly forward and the stomach muscles are ridged. The shoulders are directly over the feet, or slightly forward of the feet. The shoulders and feet are in line, so the rifle recoils back on target. (If you position yourself with the right foot back, the rifle's natural recoil will come back to the right, requiring you to have to adjust back to the left, and slowing your time.)
• The head is level for good balance. The rifle is brought to the face and then placed into the shoulder.
• The butt of the rifle is in the shoulder close to the neck.
• The face is firmly against the stock with the eyes looking straight down the sights.
• Change #3: The elbows are positioned down close to the body to reduce front area. In competition, you will see the elbows are positioned the same as the free arm position. The left hand grips the rifle's forearm, pulling the rifle straight back into the right shoulder.
• The right hand firmly grips the rifle to support the trigger finger. The grip position allows the trigger finger to do its job of firing the rifle without disturbing perfect sight alignment.

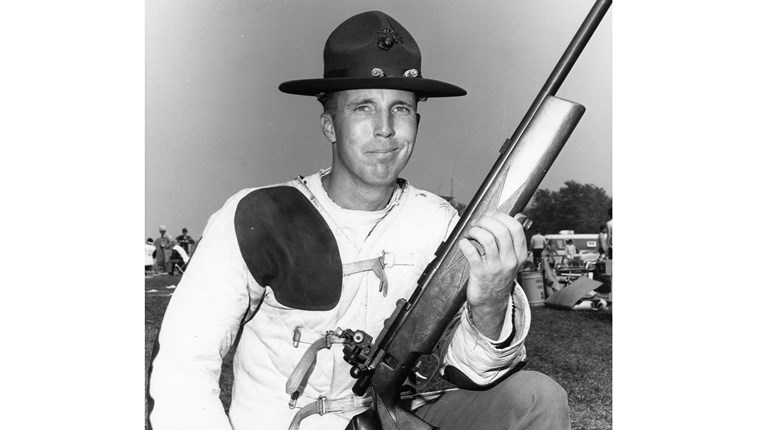
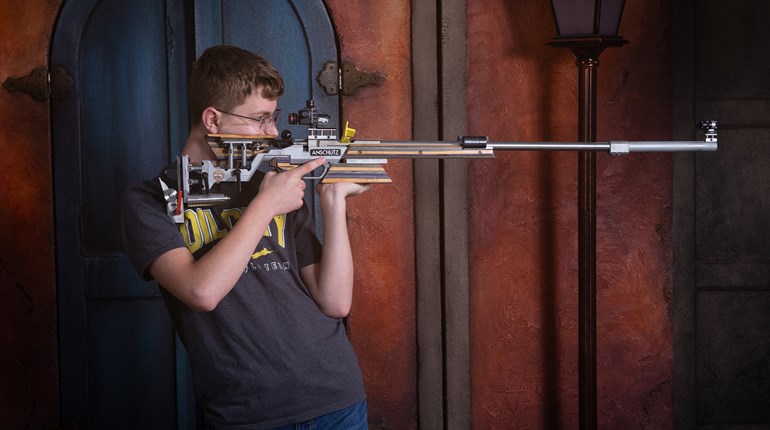
The Arm Rested Standing Position
The arm rested standing position gets its name because, in it, you rest the left arm or support arm on the side of the chest to steady the position. The arm rested position can be almost motionless, so it's used by target shooters. The basic position outline is hidden under the shooting coat, taking advantage of bone support, muscle relaxation and natural point of aim.
Step 1. Studying the arm rested standing position:
• The arm rested is almost 90 degrees to the target.
• Feet are flat on the ground with the legs semi-relaxed.
• The back is relaxed and bent slightly back with the stomach muscles relaxed.
• The head is level for good balance.
• The left hand supports the rifle, while the right hand is positioned on the rifle's pistol grip, so the trigger finger will be positioned to pull the trigger straight to the rear, maintaining perfect sight alignment.
• The left and right hand work together to position the toe of the rifle butt high and out on the shoulder, where the shoulder and the arm meet.
• The left elbow is lowered to the chest as the rifle is rolled across the chest.
• The left wrist is straight and the weight of the rifle is passed through the wrist to the forearm, then to the ribcage.
• The left bicep and forearm are relaxed.
• The face is firmly against the stock with the eyes looking straight down the sights.
This is a quick introduction to the three standing positions you see used for hunting or competitive shooting. For more details on these positions, you may want to contact an NRA Rifle Coach. To find a coach near you, contact the NRA Coach Program at [email protected] or attend an NRA rifle competition.
Most Popular