Zeroing (also called sighting-in) is the process of adjusting your rifle’s sighting apparatus (iron sights, electronic optic or riflescope) until its point-of-aim (POA) is calibrated to the bullets’ point-of-impact (POI). Zeroing is best conducted by following these steps:
- Bore sighting
- Rough Adjustment
- Shoot a Group
- Fine Adjustment
- Optimal Zero
Tools Needed: rifle, ammunition, screwdriver (slot head), target, large target board, staple gun, Sharpie, hearing protection, eye protection, shooting bench or table, tape measure, sandbags, gun rest.
1. Bore Sighting
Bore sighting is the act of looking through a rifle’s empty barrel, or bore, to get a rough idea of where a bullet would strike if it were fired. For this to work with any accuracy, you must be able to rest the barrel unit solidly and remove any obstruction including the bolt or gun frame that would prevent you from looking down the bore from the chamber end to the muzzle. After using your eye to center a distant object in the bore, the sights should also be aligned on the same object downrange, at which time the rifle is said to be “bore sighted.” If the bore and the sights’ do not coincide, you must adjust the sights, since you cannot adjust the barrel.
To do this, place a large paper target 25 yards from your shooting position. (While it is tempting to place the target farther downrange, experience shows that it’s nearly always best to start close.) The goal is to “hit paper” on the rifle’s first shot so that you know definitively what adjustments to make. Therefore, the bigger the target, the better. (A 3’x3’ cardboard box with a golf-ball-sized bullseye is ideal.)
Clear a space on a steady table or shooting bench. Remove your AR-15’s upper receiver (barrel assembly) from the lower receiver (grip and buttstock), so that the rifle is in two pieces. Remove the bolt and bolt carrier from the upper receiver so you can peer through the barrel. Cradle the upper receiver in a gun vise or sandwich it in sandbags so that it stays upright and steady on its own. Next, while looking through the barrel from the chamber end, situate it so that the bullseye is centered in the bore. Then, without moving the barrel, move your eye up to the sights (or the scope) and note where they are aimed. If the sights (or crosshair) are aligned on the bullseye, as is the bore, move to step 3. If they are not, you must adjust the sights (or your scope’s reticle) until they are calibrated on the bullseye.
2. Rough Adjustment
Scopes have two adjustment turrets: The one on the right side of the scope is called windage (for left and right sight adjustment), while the one on top of the scope is called elevation (up and down). Scopes are usually adjustable in audible “clicks,” but for the rough adjustments, don’t worry about counting clicks. Rather, while looking through the scope but holding the boresight on the bullseye, turn the windage turret until the crosshair also aligns with the bullseye. Then do the same for the elevation turret. This takes practice and concentration, but the trick is to hold the rifle as steady as possible while moving only your head and eye between the two views—the target through the scope’s crosshair and the target through the bore—to compare them. When both the crosshair and the boresight are centered on the same distant bullseye, you’re ready for the next step. You should hit paper at 25 yards.
(For iron sights, do the same process, except adjust your AR-15’s rear sight the same way as described above.)
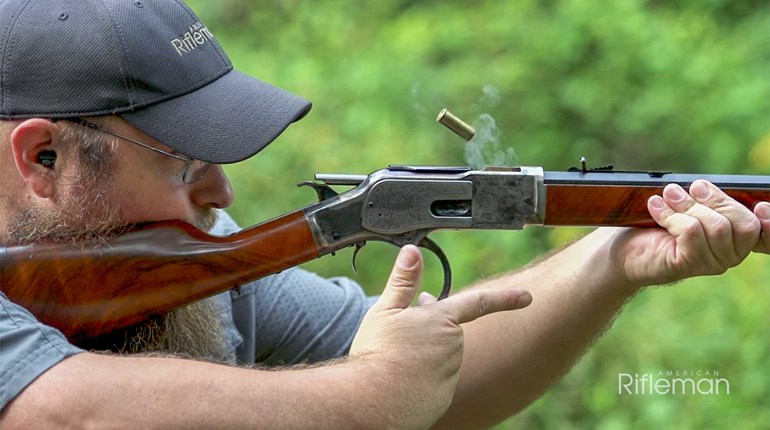
3. Shoot a Group
After bore sighting and making rough adjustments, reassemble your rifle, find a steady rest, load and carefully shoot a three-shot group. If possible, have someone spot for you to see where your shots strike. If the group lands on the paper, move to step no. 4. If none of the shots hits the target, and you have no idea where they went, you have two options: Either repeat steps 1 and 2 because obviously something went wrong with your boresight process, or move the target closer. Try 10 yards. Again, your goal is to simply get the shots on paper so you can tell exactly how much to adjust your scope or sights.
Once your group hits any part of the target, move to step No. 4.
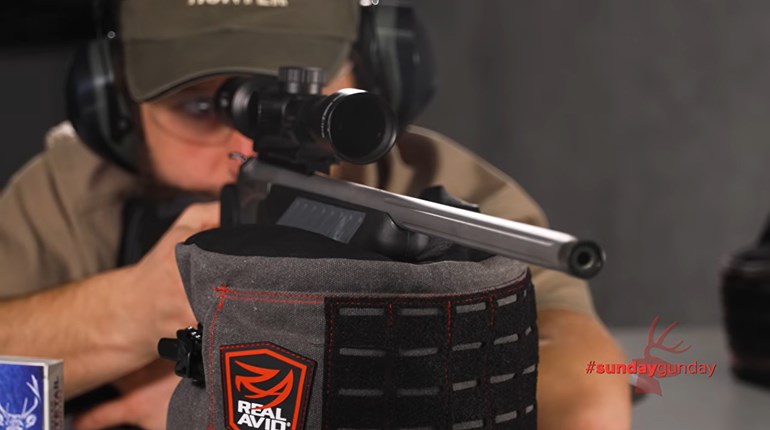
4. Fine Adjustment
If your group hit perfectly in the bullseye, skip to step 5...but if it’s on the paper but not in the bullseye, you need to make fine adjustments.
To do this, estimate the center of your three-shot group and mark it with a Sharpie. (If you are convinced that a wayward shot was shooter error, discard it, and only find the center of the two shots that you believe to be good.) Then use a tape measure or the inch-stadia lines on some targets to measure the horizontal and vertical distances on your group’s center to the bullseye. For example, if it is 3 inches right of the bullseye and 4 1/2 inches high, you’ll need to move the bullet’s POI exactly that distance but in the opposite directions. So, you’ll adjust your scope for 3 inches left and 4 1/2 inches down.
To do this, remove the scope’s turret caps and read what it says underneath them. Most will show an arrow and a letter R (right), L (left), U (up) or D (down) for the direction to turn the dial in order to move the POI the same way. (If it only has one letter, assume the opposite way represents the other letter. For example, if a clockwise arrow points to “D”, moving the dial counterclockwise will move the bullet Up.) Most scopes have adjustment values that equal ¼ inch at 100 yards and most will say it. But since you are shooting at 25 yards, you’ll need to adjust the turret 16 clicks to move the bullet 1 inch. So, for the example above, you’ll need to move the bullet’s POI 3 inches left, so 3x16 = 48 clicks left. On the vertical turret, you’ll need to move the bullet’s POI 4.50 down, so 4.5 x 16 = 72 clicks down.
After you make the adjustments, give the scope a little tap (this can sometimes “settle” the adjustments into the scope’s erector tube) and then shoot another group. If the group’s center is in the bullseye, go to step 5. If the group isn’t in the bullseye, repeat step 4.
5. Optimal Zero
A rifle can be zeroed for any range the shooter wishes, so you should choose what’s optimal for your intended use. For example, police and home defenders who anticipate only shooting their rifles at indoor-type distances sometimes zero their rifles for 10-25 yards. If you do not plan to shoot your rifle at long range and choose to zero it so that its bullets strike in the center of the bullseye at 25 yards, you are finished. But most shooters choose to zero their rifles at 100 or 200 yards. If you choose a 100-yard zero, your bullet will be dead on at 100 yards, but it will be a couple inches low at 200 yards, and around 8 inches low at 300 yards. If you choose to zero at 200 yards, your bullet will be a couple inches high at 100 yards, dead on at 200 yards and a few inches low at 300.
For a host of reasons too complex for this article, I recommend the 200-yard zero, if your shooting range goes to 200 yards. If 100 yards is the maximum distance of your shooting range, I recommend zeroing your rifle so that if you hold the crosshair or sights dead-on on the bullseye at 100 yards, the bullet will impact 2 inches high of the bullseye. This is a great all-around zero for hunting, target shooting and defense.
No matter what range you decide to zero your rifle, move the target to that range, and repeat step 5. When your bullets strike exactly where you want them to at a given range, your rifle is zeroed. Now any shots your fire will not be a waste of ammo, but a calculated shot.
Troubleshooting:
Two of the most frustrating aspects of zeroing a rifle are 1: Not being able to hit the target initially so that you can’t tell which adjustments should be made, and 2. Your groups are so large or inconsistent that adjusting the scope is little more than guessing.
To hit the target after you install a scope, be sure that when bore sighting, the bullseye is exactly in the middle of the bore, and not to one side. It can make a big difference. Next, set up as big of a target as is practical, or set up in front of a giant dirt backstop so you can see where your bullets are hitting even if they miss the target. If all else fails, move the target closer until you hit the paper, even if it’s fewer than 5 yards. Then adjust the scope as necessary.
If your groups are so large or your rifle is shooting so inconsistently that adjusting the scope seems like moot point, there are three common culprits: The first one is the scope mount. A loose scope mount allows the scope to wiggle with each shot, wrecking consistency. Trouble is, sometimes a loose mount isn’t obvious. So, double check and retighten all scope mount screws and rings to eliminate that variable.
Next, make sure your barrel or muzzle isn’t resting or contacting anything on the shooting bench. You should rest the rifle on the stock only, not the barrel. I’ve seen people so fixated on adjusting the scope that they fire the rifle with the barrel pointed straight into a sandbag. And then they can’t figure out where their bullets are going.
Finally, check yourself for flaws in shooting fundamentals. Are you flinching? Are you holding the rifle properly, getting a good cheek weld, sight picture, and executing a smooth, consistent trigger pull? If you aren’t sure, ask an experienced shooter to fire the rifle to see if it’s you or the rifle. With practice, zeroing is not only easy, it’s fun.
Most Popular