If you are brand-new to archery but would like to get started, there is no better time than now! Begin by making a trip down to your town’s local bow shop. Ask one of the professionals there for help.
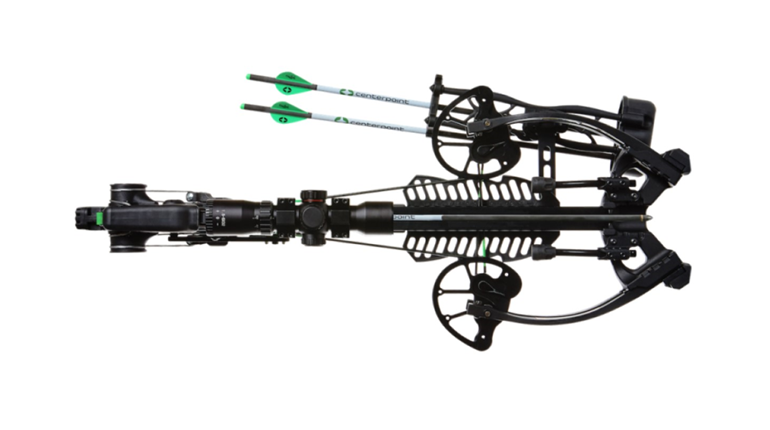
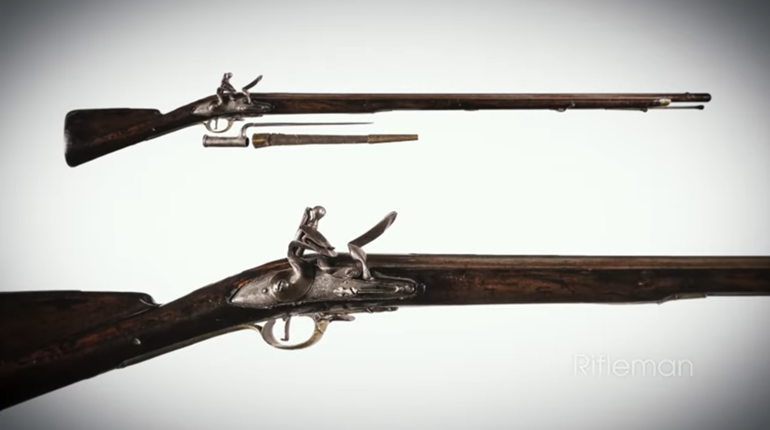
A modern compound bow is a far cry from a wooden “stick and string” of the past: A compound bow is easier to shoot accurately and is more powerful than traditional bows. But its system of strings and cables—called “eccentrics”—combined with necessary accessories, such as bow sights and an arrow rest, must be set up properly in order to realize the compound bow’s advantages. An archery pro will find a bow that fits your body size and strength, match arrows with it, then set it up so you can shoot it to its maximum accuracy potential. Some bows come in “kits” that include everything you will need to get started, while others can be bought separately and accessories installed as needed.
If you’re a beginner, most adjustments and installations should be made by a pro. What follows is series of photos that show and describe the bow fitting and set-up process, so you will know what accessories you need, what the archery professional is doing and why.
“Draw weight” refers to the amount of strength it takes to pull the bowstring back. Bows come in various draw weights and most can be adjusted. An average, fully grown man might prefer a 70-pound draw weight. A five-year-old child might be able to pull 15 pounds of draw weight. A bow having a draw weight of 25-45 pounds is about right for most kids.
At the store, you will be asked to pull a bow back. If you are right handed, you should hold the bow with your left hand and pull the string back with the first three fingers of your right hand. Lefties should buy a left-handed bow and do the opposite. (Remember, you should never dry-fire, or let the string go if it does not have an arrow, as it can damage the bow.) If you cannot pull the string back, or if you must strain excessively to pull it, you need a bow with less draw weight. Find a draw weight that you can comfortably pull and hold back for 10 seconds.
If the bow’s draw weight is much too heavy or much too light, you need a different sized bow. If its draw weight is slightly too heavy or light, it can be adjusted by turning the Allen screws on each of the bow’s limbs. If you adjust the bow’s draw weight in this way, adjust both limbs evenly. Screw them down to increase draw weight; unscrew them slightly to decrease weight.
“Draw length” is the distance between the bow’s grip while you hold it with your outstretched bow hand, and your other hand (called your string hand), that will release the bowstring. You should find a comfortable anchor point, or the point at which the bow is fully drawn to release the string. Once you determine a comfortable anchor point, you should always hold the string at that position when shooting. A common anchor point for compound bow shooting is one in which your string hand is held against the point of the jawbone.
If it is too short, it will not reach your chin. If the draw length is too long, the string will stretch past your ear. If it is just right, the string will be near the corner of your mouth. If your bow’s draw length needs adjustment, it must be performed by a professional who will use a bow press.
The string nock is a small ring of metal that crimps to the bowstring. It allows the shooter to quickly and easily place an arrow on the string at the exact same place for every shot. It is necessary for good accuracy. The exact place at which the nock is crimped should be determined by a pro. The arrow should then be “nocked” directly under the string nock. It costs under a dollar.
After your bow is adjusted for your draw length and draw weight, an arrow rest must be installed. There are many varieties. An arrow rest is a launching pad from which the arrow “takes off” when it is released. It must be installed precisely in order to get proper arrow flight, a task best left up to a pro. Rests cost between $10-75.
A bow sight is usually a bracket containing several “sight pins” that mounts to the riser of your bow. A sight pin is used for aiming a bow, much like the front sight of a rifle. Different pins are used for varying distances to the target. Prices are $25 to $100.
A peep sight should be installed on the string, above the nock. It functions like the rear sight on a rifle to properly align your eye with the bow sight. It is a must for good accuracy, and it should also be installed by a professional.
A stabilizer is not absolutely necessary, but it helps to steady your bow while shooting. It can simply be screwed into the bow’s riser. You can do this yourself. Prices run $12 to $30. A bow sling is a strap that attaches to the grip of your bow. It allows you to relax your bow hand while shooting without fear of dropping the bow. A relaxed bow hand is desirable for accuracy. A bow sling can be installed by you.
Based on your draw weight and draw length, a pro will determine the proper stiffness, called “spine,” of your arrows. You should choose aluminum arrows or carbon arrows. I prefer carbon. Buy a half dozen or a dozen. $35-65 per half dozen. Determine proper arrow length after draw length has been found. A pro will have you place an arrow on the string and draw back the bow, then he’ll mark the arrow about an inch from the end of the arrow shelf. This is your proper arrow length. The pro will then cut all your arrows to the same correct length.
After your arrows are cut, metal “inserts” must be installed. Inserts allow you attach various types of arrowheads onto the arrow. “Field points” are for practicing; “broadheads” are razor-sharp arrowheads that should only be used for hunting. Do not play with broadheads, as they can be very dangerous.
With everything installed, you are finally ready to shoot. Before shooting, seek proper instruction from an experienced adult. Once you get good enough to shoot a tightly clustered group of arrows, you can now move the bow sight in order to hit the bullseye. If you consistently shoot low of where you aimed, lower your sight pin slightly. If you are shooting high, raise the sight pin. If your arrows are landing left of where you aimed, move the sight pin to the left slightly. If you are shooting right of where you are aiming, move the sight pin right.
Then practice, practice and practice some more at various ranges until you become a regular Robin Hood!