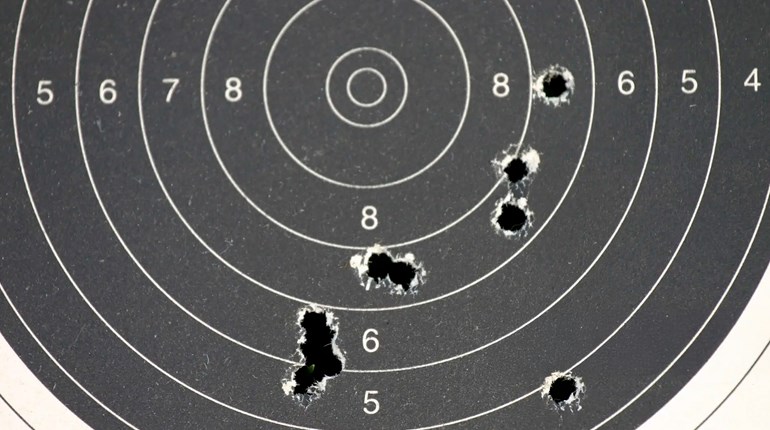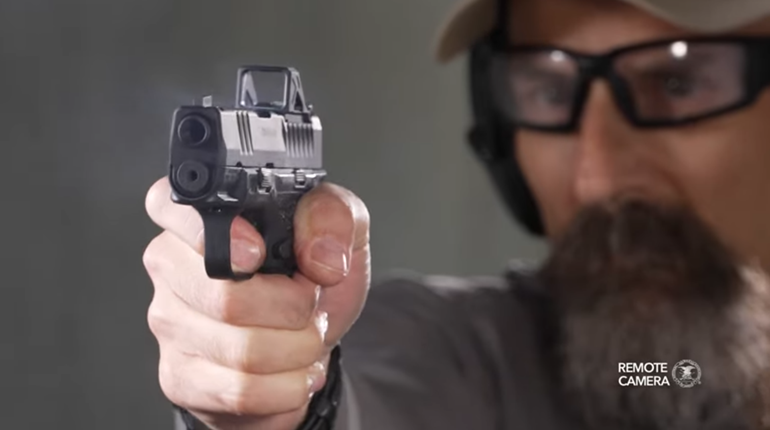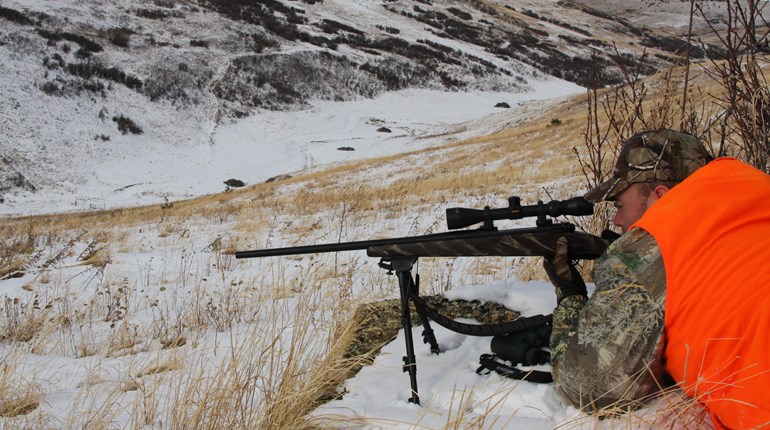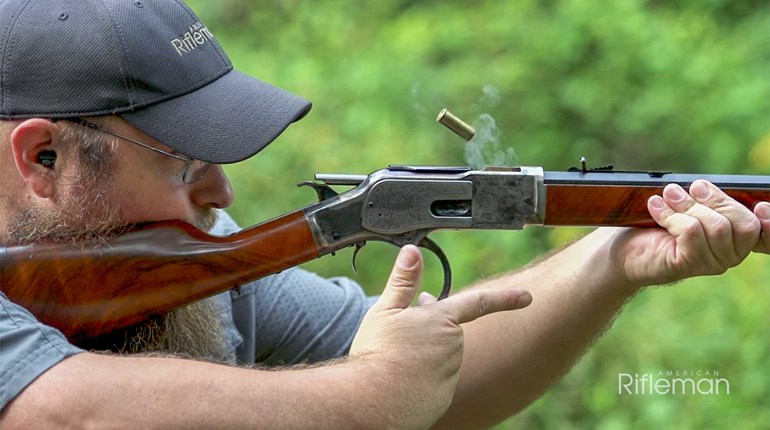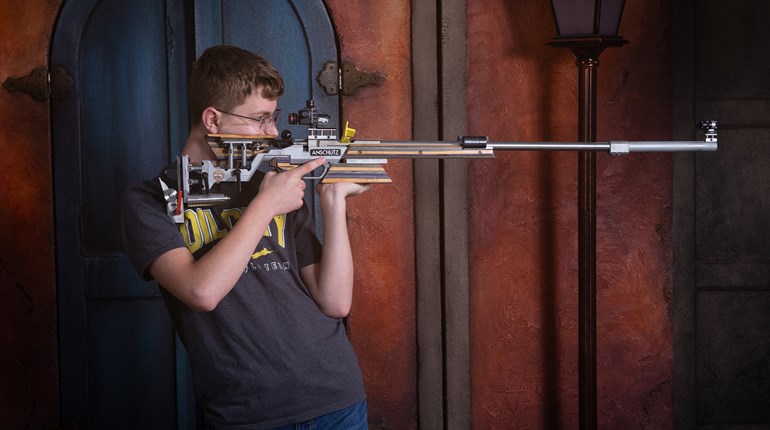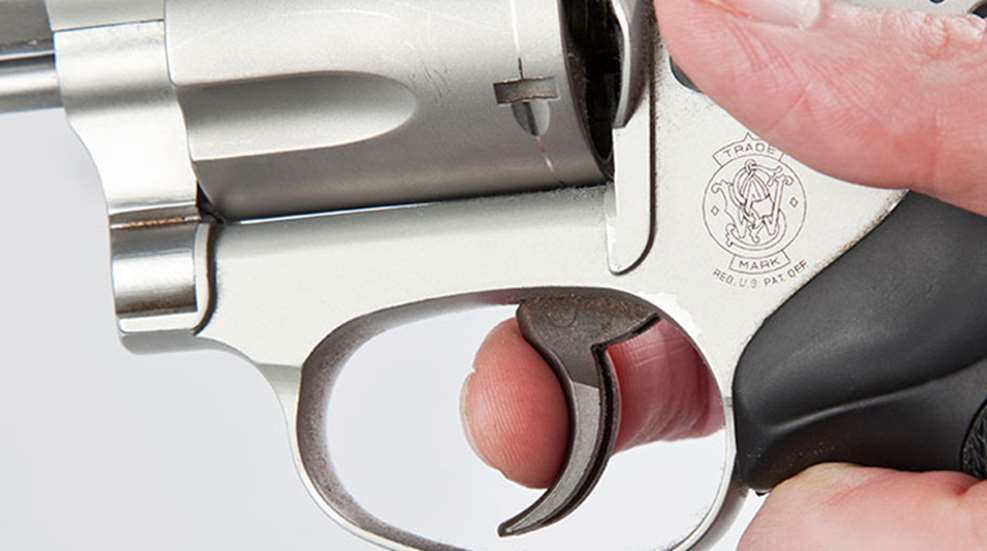
The NRA uses the general term “trigger control” to describe the act of moving the trigger and firing the gun without disturbing aim. All the fundamentals are rolled into firing the shot, but the two biggest factors are aiming and trigger control, in that order. How you move the trigger can work for or against you. The best method of controlling a trigger, for all levels of shooters, is to move the trigger straight to the rear, firing the gun without disturbing aim.
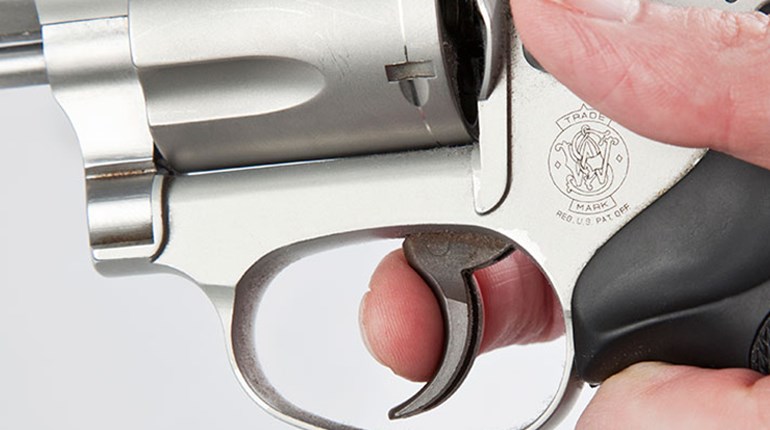
It starts with placement of the trigger finger on the trigger. The middle of the pad on your fingertip—the most sensitive part of your finger—is the preferred position for finger placement. But maintaining perfect aim as the shot is fired is much more important than putting the trigger finger in a “preferred position” on the trigger. Your best contact point might not be the same as the shooter’s beside you. How do you find it? Try this dry-practice (also known as dry-firing) exercise.
WHEN DRY PRACTICING, REMEMBER, NO LIVE AMMUNITION IS PERMITTED IN THE TRAINING AREA. AIM ONLY IN A SAFE DIRECTION.
You should also consult your owner’s manual to ensure that it will not harm your gun to dry practice with it. (Some rimfires should not be used for dry practice without “snap caps,” or the firing pin may become damaged.)
For your dry-practicing exercise, use a simple white sheet of paper as a target. (The white paper allows you to concentrate on sight alignment without being distracted by either the sight picture or a natural wobble area.) Have a friend or coach look over your shoulder as you dry practice. Ask them to watch your sights against an object downrange to verify that your aim was not disturbed as you pressed the trigger. When the firing pin hits the dummy cartridge without causing any movement of the sights, you have found the correct location for your trigger finger on the trigger.
What should you do if your front sight moved during the dry-practice exercise? Simple: Either move the trigger or move your finger. Moving the trigger is preferred, but some triggers aren’t adjustable for position. That means you’ll have to move your finger on the trigger. Continue to dry practice as you do this until you find the spot where the sights don’t move as you press the trigger. Sometimes you must slightly adjust your grip (the position of the hand on the stock or grip) to get your finger positioned properly on the trigger.
Once you’ve found the correct location for your trigger finger, make sure you remember it and enter the data in your shooter’s diary. (If you don’t have a shooter’s diary, now would be a great time to start one!) The key is that you must grip the firearm the same way every time. Keep in mind that the contact point on the trigger finger may change from gun to gun and position to position.
To better understand trigger-finger placement, try this simple thumb-forefinger exercise:
Start the exercise by extending your shooting hands in front of you. Your fingers should be pointed away from your body, palms vertical, thumbs parallel with the bones of the forearm and inside the palm of the hand. Then place the pad of your trigger finger against the end of your thumb. Imagine that your thumb represents the face of the trigger. Now smoothly increase the pressure to the rear against the thumb until your thumbnail is almost completely white. This whiteness simulates that the gun has fired.
Now, hold that pressure. The changing color under your thumbnail shows that pressure on the trigger is increased smoothly until the shot is fired. The direction in which your thumb joint moves shows whether or not the thumb is moved straight rearward as a trigger should be.
Next, slowly relax the pressure on your thumb, but maintain contact between the finger and the thumb, and watch your nail regain its color. When your nail regains color, this simulates the point at which the trigger resets itself for the next shot.
There are three things to learn from this exercise:
1. Always increase pressure smoothly.
2. Move the trigger straight to the rear.
3. Maintain contact with the trigger as the gun fires, then allow the trigger to reset for the next shot.
Here are two trigger control techniques that will work with any trigger:
1. The uninterrupted trigger press. You increase pressure on the trigger steadily and smoothly until the shot is fired, or until the sight picture becomes unacceptable. If sight picture becomes unacceptable, you should stop the shot process completely, relax all pressure on the trigger and start over from the beginning.
2. The interrupted trigger press. You increase pressure on the trigger until the gun fires, or until the sight picture becomes unacceptable. If the sight picture becomes unacceptable, you stop adding pressure to the trigger and hold it until the sight picture becomes acceptable. You then resume adding pressure to the trigger until the gun fires, or until it becomes necessary to stop again. This technique, particularly with a light, finely adjusted trigger, is a highly advanced skill. It’s not for beginning or intermediate shooters.