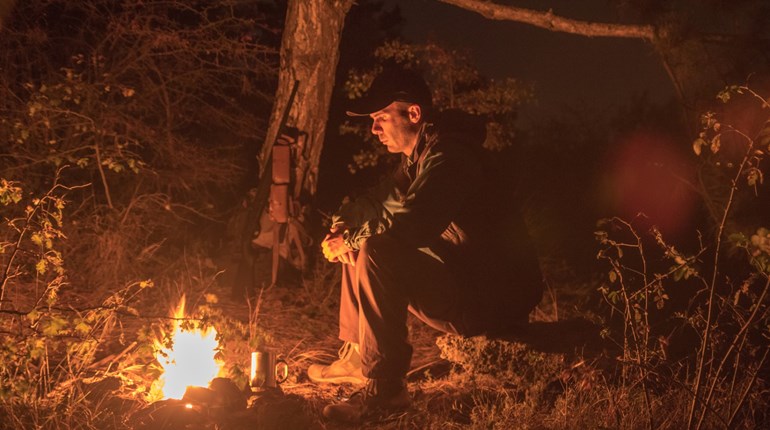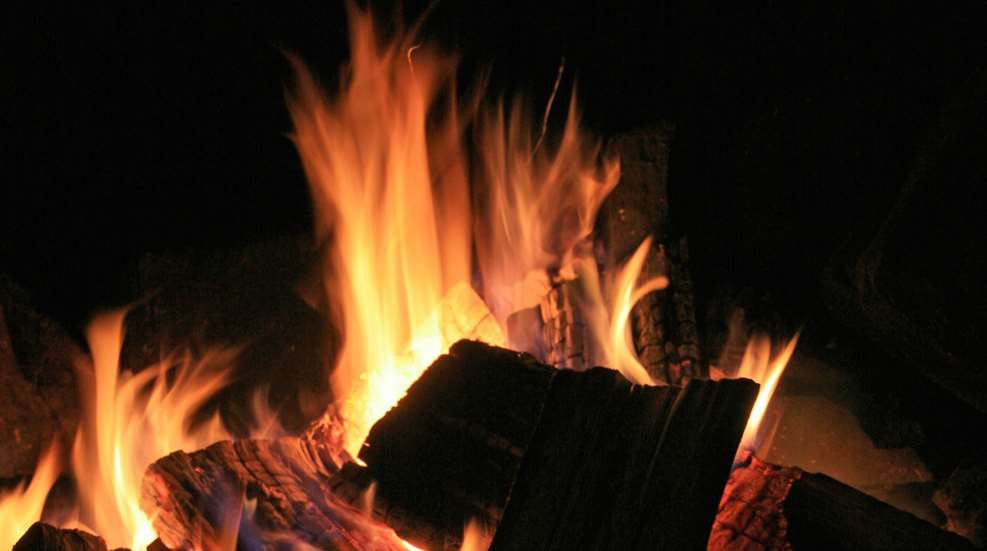
Knowing how to manage fire is important for much more than cold-weather survival. Regardless of the outside temperature, if you find yourself in a survival situation, fire is your best friend. Fire can be used as a distress signal (three fires is traditional for that purpose). It can be used to purify water, cook food, keep you secure as you sleep and much more.
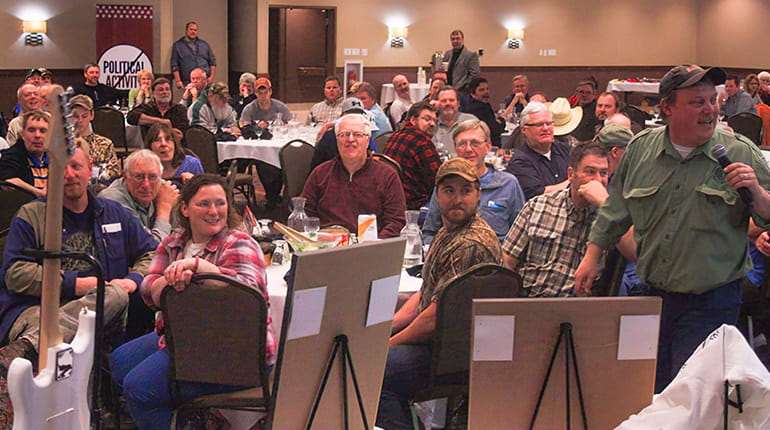
Kids can learn about fire safety early. Although my grandkids are only 8, 10 and 10, all three girls can use a striker to build a small fire, and keep it fed. (I find that the promise of s'mores for lunch whets a child's appetite for learning!) They also know how to ensure the fire is all the way out ... and so should we all.
1. Practice the Fire
After many years of big-game hunting, the single and most important survival tool is one's knowledge and how to put that in use when needed. So to have skills down pat when desired, it is a good idea to practice fire starting techniques at home. With that, doing whatever is needed becomes automatic!
2. Start the Fire
Waterproof matches are a good basic supply, but humidity can affect them. This is why I carry them in a sealable-top plastic bag. What is a more reliable starter is a good quality lighter. Today, Zippo has special ones that will work well even in the wind. Then there is the Gerber Flint Bar Striker, which I trained my three granddaughters to use. This is also light to pack and reliable. Although not affected by moisture, it is a little harder to use and requires that the sparks land on something that will easily burn.
3. Fuel the Fire
Many people, including myself, bring their own tinder on their adventures. This can be cotton balls soaked in petroleum jelly (artificial fiber balls don't work for this purpose), dryer lint (which burns very quickly), facial tissues, paper towels ... anything easy to ignite. If you didn't bring your own, you'll need to forage it. Look for anything dry, such as pine needles and leaves. My secret is to mine hollow logs, which keeps the material dry. Also, that “sticky stuff” that oozes out at a cut on a pine tree burns well. Dry kindling is an important part of this puzzle. Remember, kindling that is dry snaps when bent. If it bends, it's probably fresh and wet so keep on looking.
4. Fence the Fire
Careful where you start your fire so it will not spread! You also do not want it where it can easily be blown out by a wind gust. To keep it burning and contained, I gather some rocks and start with a circle with about 6 inches open on one side. Then I build it up about 6 inches! Within is where I begin to construct my teepee.
5. Build the Fire
First, I put kindling within, then on top put a few dry leaves and on that, some Kleenex and a cotton ball. Then around all of this, I build a teepee with thin dry sticks which will easily catch fire once the base is ignited and the flames rise. Then I build upon that with heavier branches.
6. Light the Fire
Once a spark from a striker hits the cotton ball and Kleenex, your fire has begun. To do that, position the flint bar over the target, then with a quick and strong motion, scrape downward with the striker. This will remove the black oxide coating on the circular flint tube as the hot metal hits the cotton ball and or Kleenex. Now it is burning! This is the critical time to keep it fed with dry wood, increasing the size as the flame gets hotter. Stay close and do not let it burn out or spread.
7. Drown the Fire (and Then Do It Again)
When leaving, it is critical to be positive that your fire is indeed out. That is why it is not a good idea to build a fire over tree stumps or roots protruding from the ground. These could be smoldering down underneath the surface as you leave. Here’s what the USDA Forest Service recommends!
"First, drown the campfire with water! Next, mix the ashes and embers with soil. Scrape all partially burned sticks and logs to make sure all the hot embers are off them. Stir the embers after they are covered with water and make sure that everything is wet. Feel the coals, embers, and any partially-burned wood with your hands. Everything (including the rock fire ring) should be cool to the touch. Feel under the rocks to make sure no embers underneath. When you think you are done, take an extra minute and add more water."