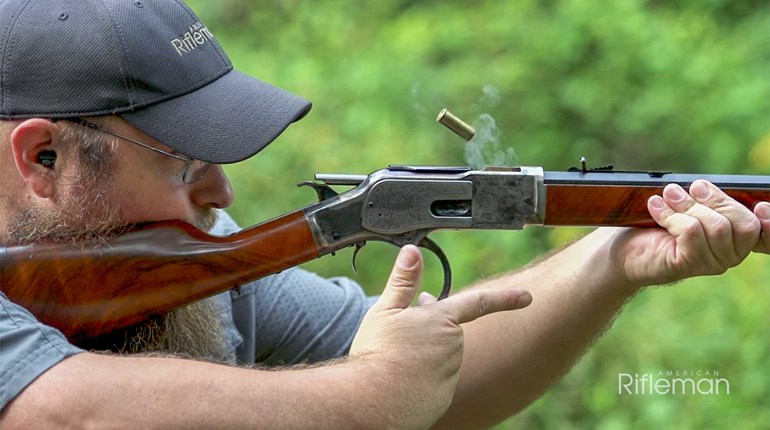
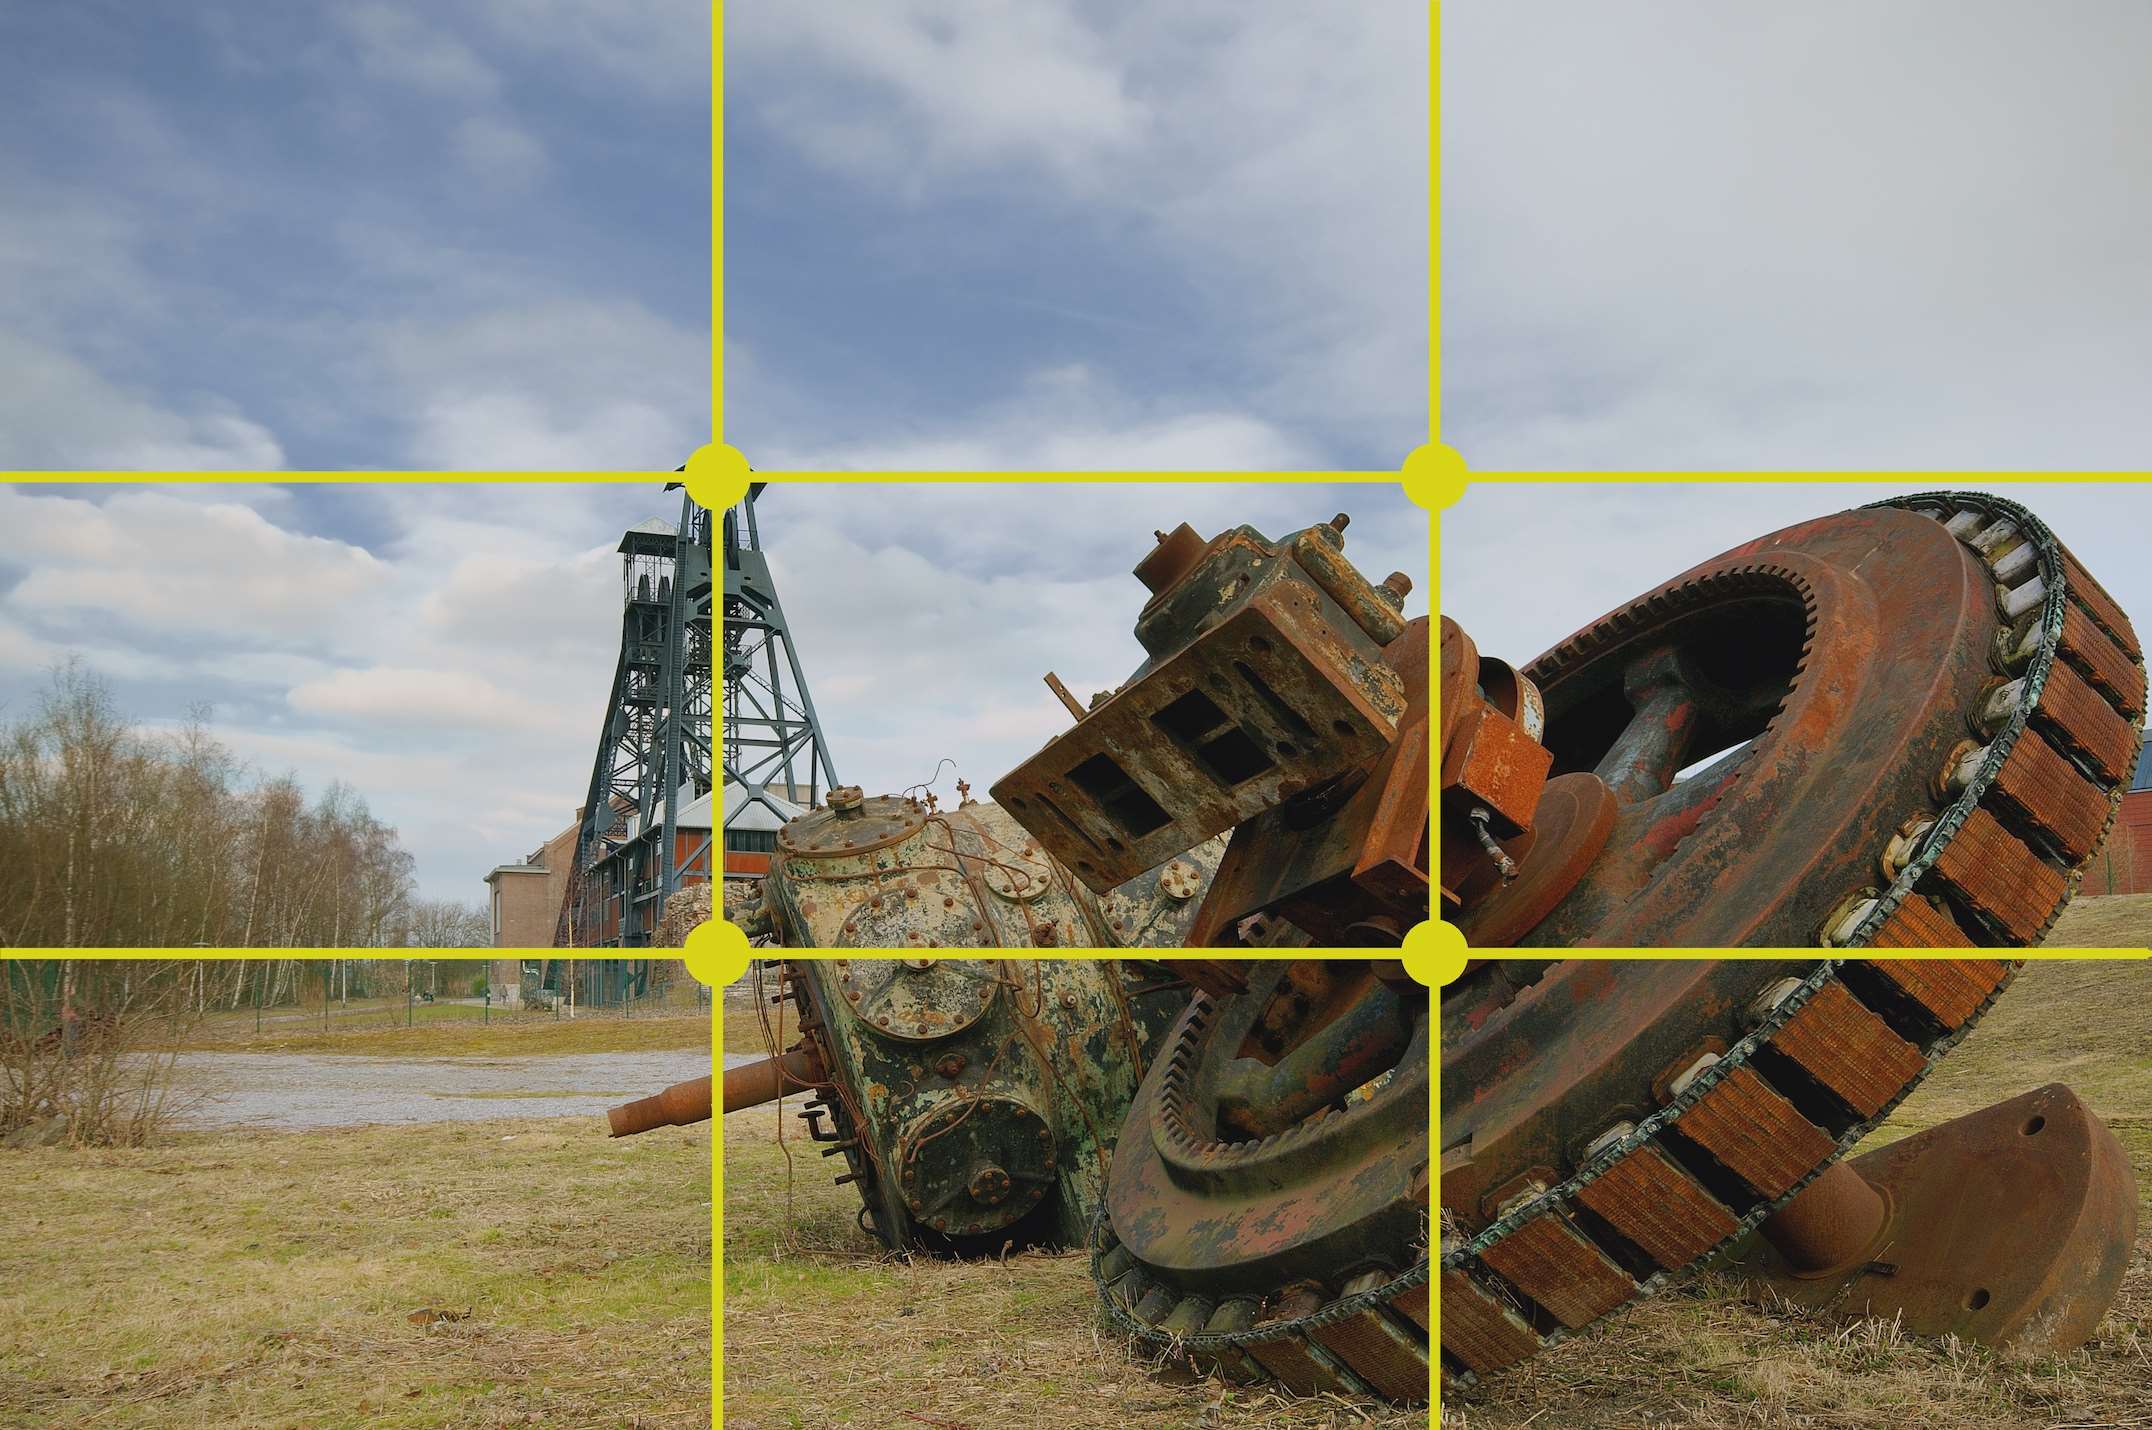
1. One of the best places to start when learning photography is the ever-popular compositional guideline deemed the “rule of thirds.” The goal here is to divide your photographs up into nine equal segments and then use the intersections of those segments to place your subject. This will help to create a balanced composition and tends to add energy to your images. Of course, like every rule, there’s always an exception. Placing a subject in the direct center of the frame can create a dramatic impact but this usually works best in close up situations. Use this method sparingly. Just go out and play—try composing the same subject in a variety of methods to see what you like best.
2. Photography is all about the light. In fact, photography is defined as the “recording of light” on film - or more commonly today, on computer chips. So how you use light, either from the sun, flash or reflector, is what makes or breaks a photograph. The correct use of light—and shadows—can create jaw-dropping results. (Thanks to modern cameras, if you don’t like what you see, you can erase and shoot again.) When possible, use a flexible reflector disc (or flash)—available from photo supply sources like B&H Photo—http://www.bhphotovideo.com to put light up under a cap, or increase the lighting on a difficult-to-photograph black bear.
3. Avoid simple snapshots—study the object you will photograph. If it’s a dead deer, remember to hide the tongue, remove blood and make it look lifelike. Hunters should not sit on the animal but kneel behind or beside it for the best images. Be careful of where and how you place any firearm: Make sure the muzzle is pointed in a safe direction and that the action is open. Also, think about the perceived angle. Often, even though a gun may in fact be pointing away from a hunter, the two-dimensional nature of a photo can play tricks and make it appear as if it were pointed at them.
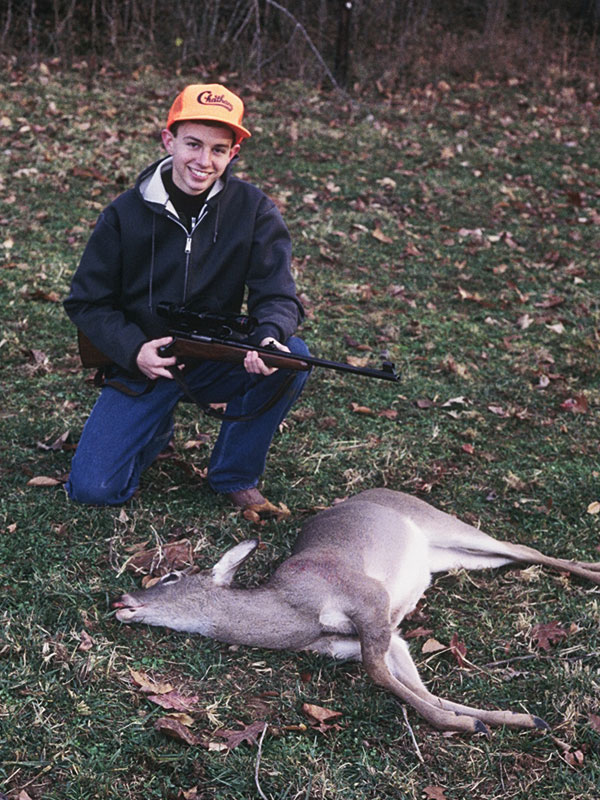
4. Backgrounds can benefit…or detract. Study all the details and avoid objects—like tree limbs—that may seem to grow out of subjects’ heads or that loom behind them. Remember that you can often choose your background—and move the object to a more scenic area. Photos of deer taken in trucks, or while the deer swings on a game pole, almost never turn out well. Prop the animal up or place it on its stomach if it has been field-dressed.
5. The angle advantage: Use angles to draw more attention. Note that lying on the ground and shooting up can make an object appear bigger, and climbing a ladder or tree and shooting down can make an object appear much smaller. Don’t forget very close-up shots for unique perspectives.
6. Clarity and crispness is best achieved by holding the camera VERY steady. For the best sharpness, use a tripod. Tripods are a photographer’s best friend. Don’t want to cart a huge tripod out with you? Look for a mini tripod that can be attached to a tree branch, like Joby Gorillapod (http://joby.com/gorillapod). These are fun, light, easy to use, and can fit in your pocket.
7. If you want to get in the image, use a timer. Most cameras have timers. Simply place the camera on your tripod, set the timer release, and jump in.
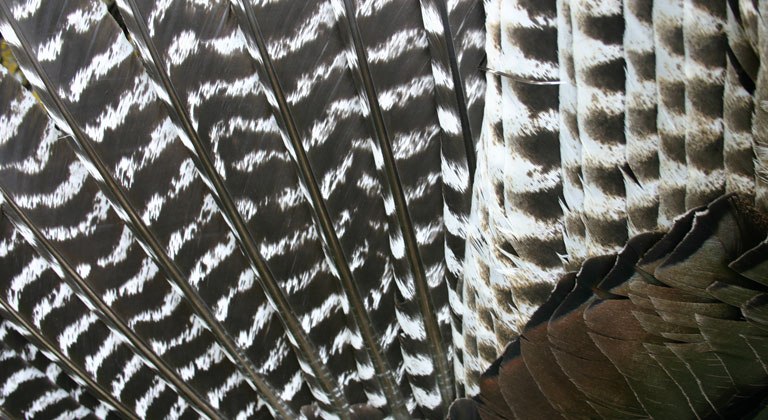
8. Close-ups count: Again, to capture the hunting action and help tell a story through images, take close-up photographs of glove-covered hands operating a box call, blowing a duck call or a hunter kneeling behind and placing a turkey decoy in the ground or tossing out a duck call. Get in tight. Make sure the hunter is dressed in hunting clothes.
9. Don’t trash it up: Never include things such as cans, gut piles or trashcans in an image.
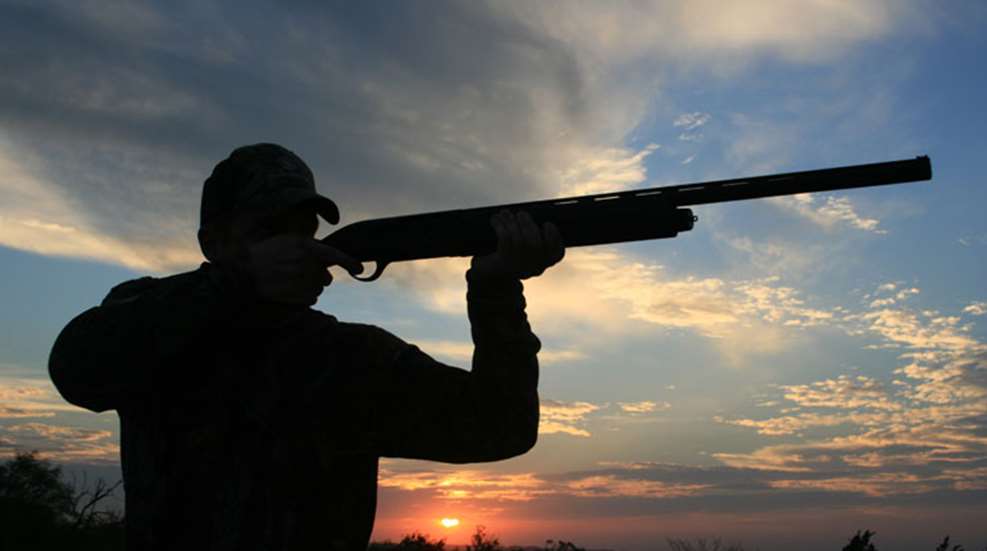
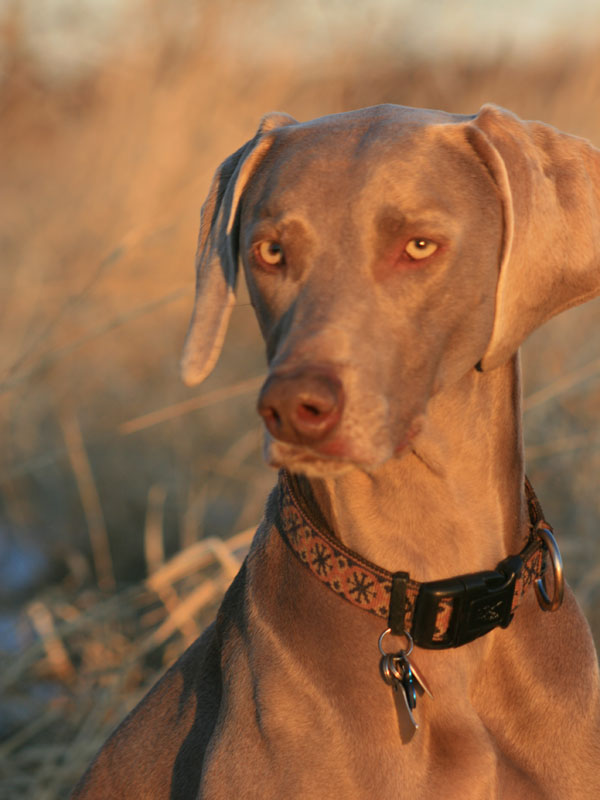
10. Be a vampire—nearly: The last and first hours of the day often offer the “soft” light that stages great images. Avoid shooting at high noon on a bright, sunny day.
11. Cap shadows: The biggest problem with any photo involving a hunter is when they’re wearing a cap. These cast shadows over the hunter’s face and can “black out” the subject’s face in any image. Ask the hunter to push their cap back—way back or use a flash and get low to the ground to capture the image. You may not think it’s necessary to use a flash when it’s really bright and sunny out, but that’s one of the best times to use one. It will even out the shadows on your subject’s face and keep the background from getting too bright.
12. Geared to go: While camera bags are handy, these also invite thieves and scream, “Here’s an expensive camera and costly gear!” Use a plain canvas gym or travel bag to cover a smaller camera bag, or consider a camera backpack that looks like a standard daypack.
13. Small bags: Life as a camera can be rough, and water is their enemy. Consider using small dry bags—sold in camping supply outlets—to store camera body and lenses. These come in bright colors so you’ll notice if it’s left on the ground.
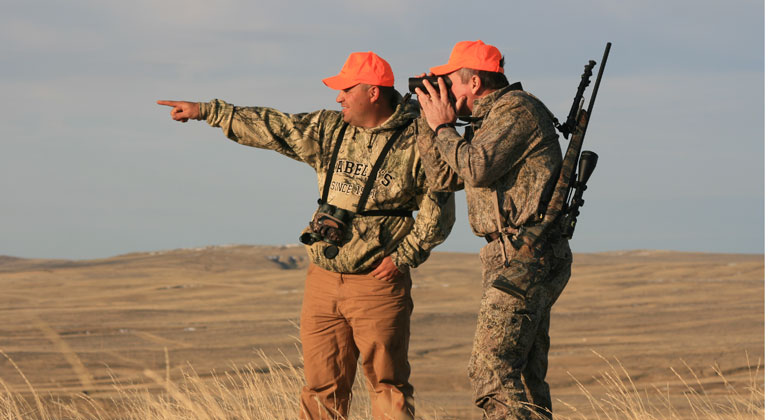
(Above) Rule of thirds.
2. Photography is all about the light. In fact, photography is defined as the “recording of light” on film - or more commonly today, on computer chips. So how you use light, either from the sun, flash or reflector, is what makes or breaks a photograph. The correct use of light—and shadows—can create jaw-dropping results. (Thanks to modern cameras, if you don’t like what you see, you can erase and shoot again.) When possible, use a flexible reflector disc (or flash)—available from photo supply sources like B&H Photo—http://www.bhphotovideo.com to put light up under a cap, or increase the lighting on a difficult-to-photograph black bear.
3. Avoid simple snapshots—study the object you will photograph. If it’s a dead deer, remember to hide the tongue, remove blood and make it look lifelike. Hunters should not sit on the animal but kneel behind or beside it for the best images. Be careful of where and how you place any firearm: Make sure the muzzle is pointed in a safe direction and that the action is open. Also, think about the perceived angle. Often, even though a gun may in fact be pointing away from a hunter, the two-dimensional nature of a photo can play tricks and make it appear as if it were pointed at them.
4. Backgrounds can benefit…or detract. Study all the details and avoid objects—like tree limbs—that may seem to grow out of subjects’ heads or that loom behind them. Remember that you can often choose your background—and move the object to a more scenic area. Photos of deer taken in trucks, or while the deer swings on a game pole, almost never turn out well. Prop the animal up or place it on its stomach if it has been field-dressed.
5. The angle advantage: Use angles to draw more attention. Note that lying on the ground and shooting up can make an object appear bigger, and climbing a ladder or tree and shooting down can make an object appear much smaller. Don’t forget very close-up shots for unique perspectives.
6. Clarity and crispness is best achieved by holding the camera VERY steady. For the best sharpness, use a tripod. Tripods are a photographer’s best friend. Don’t want to cart a huge tripod out with you? Look for a mini tripod that can be attached to a tree branch, like Joby Gorillapod (http://joby.com/gorillapod). These are fun, light, easy to use, and can fit in your pocket.
7. If you want to get in the image, use a timer. Most cameras have timers. Simply place the camera on your tripod, set the timer release, and jump in.
8. Close-ups count: Again, to capture the hunting action and help tell a story through images, take close-up photographs of glove-covered hands operating a box call, blowing a duck call or a hunter kneeling behind and placing a turkey decoy in the ground or tossing out a duck call. Get in tight. Make sure the hunter is dressed in hunting clothes.
9. Don’t trash it up: Never include things such as cans, gut piles or trashcans in an image.
10. Be a vampire—nearly: The last and first hours of the day often offer the “soft” light that stages great images. Avoid shooting at high noon on a bright, sunny day.
11. Cap shadows: The biggest problem with any photo involving a hunter is when they’re wearing a cap. These cast shadows over the hunter’s face and can “black out” the subject’s face in any image. Ask the hunter to push their cap back—way back or use a flash and get low to the ground to capture the image. You may not think it’s necessary to use a flash when it’s really bright and sunny out, but that’s one of the best times to use one. It will even out the shadows on your subject’s face and keep the background from getting too bright.
12. Geared to go: While camera bags are handy, these also invite thieves and scream, “Here’s an expensive camera and costly gear!” Use a plain canvas gym or travel bag to cover a smaller camera bag, or consider a camera backpack that looks like a standard daypack.
13. Small bags: Life as a camera can be rough, and water is their enemy. Consider using small dry bags—sold in camping supply outlets—to store camera body and lenses. These come in bright colors so you’ll notice if it’s left on the ground.